Description
🚗 Code, Build, Conquer: Your Smart Robot Journey Starts Here!
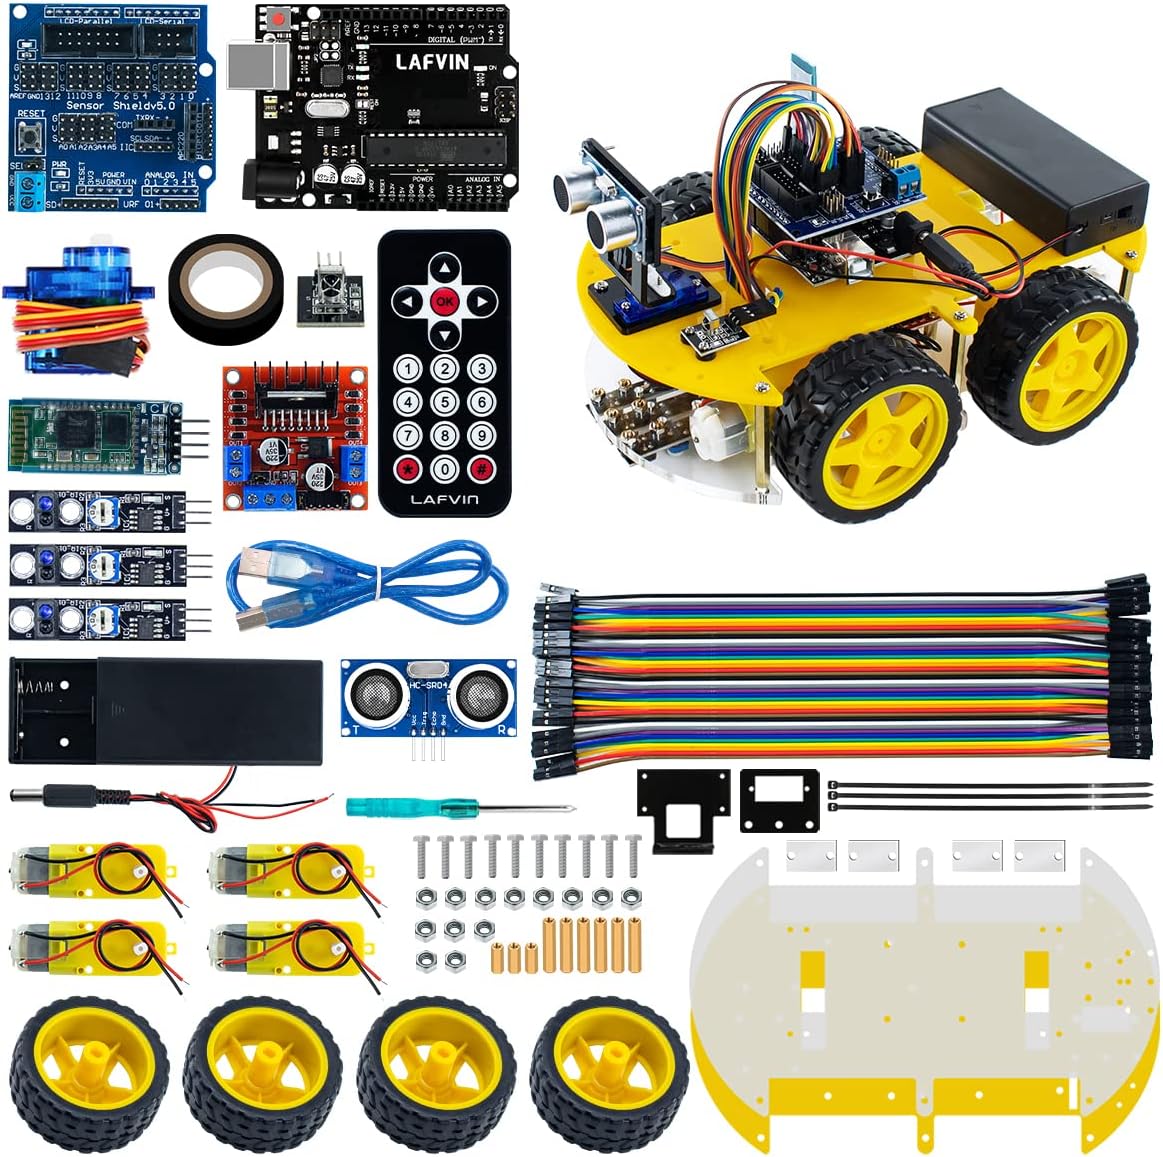
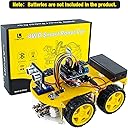
- COMPLETE DIY KIT - All essential components included (except batteries) for a seamless build experience.
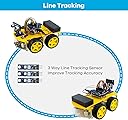
- MODULAR EXPANDABLE - Includes line tracking and IR remote control modules with room to add more features.
- HANDS ON ARDUINO MASTERY - Step-by-step tutorials empower you to build and program your own smart robot car.
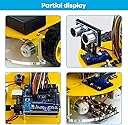
- ADVANCED OBSTACLE AVOIDANCE - Ultrasonic sensor ensures smooth navigation and real-time obstacle detection.
- PERFECT GIFT FOR INNOVATORS - Ideal for beginners and tech enthusiasts eager to join the maker movement.
The LAFVIN Smart Robot Car Kit is a beginner-friendly robotics kit featuring an Arduino-compatible R3 board, ultrasonic sensor for obstacle avoidance, and line tracking modules. It comes with a detailed tutorial including code and assembly instructions, making it perfect for learning programming and robotics hands-on. Batteries not included.