Desertcart purchases this item on your behalf and handles shipping, customs, and support to Greece.
🛠️ Seal the deal with the ultimate high-tack pro’s choice!
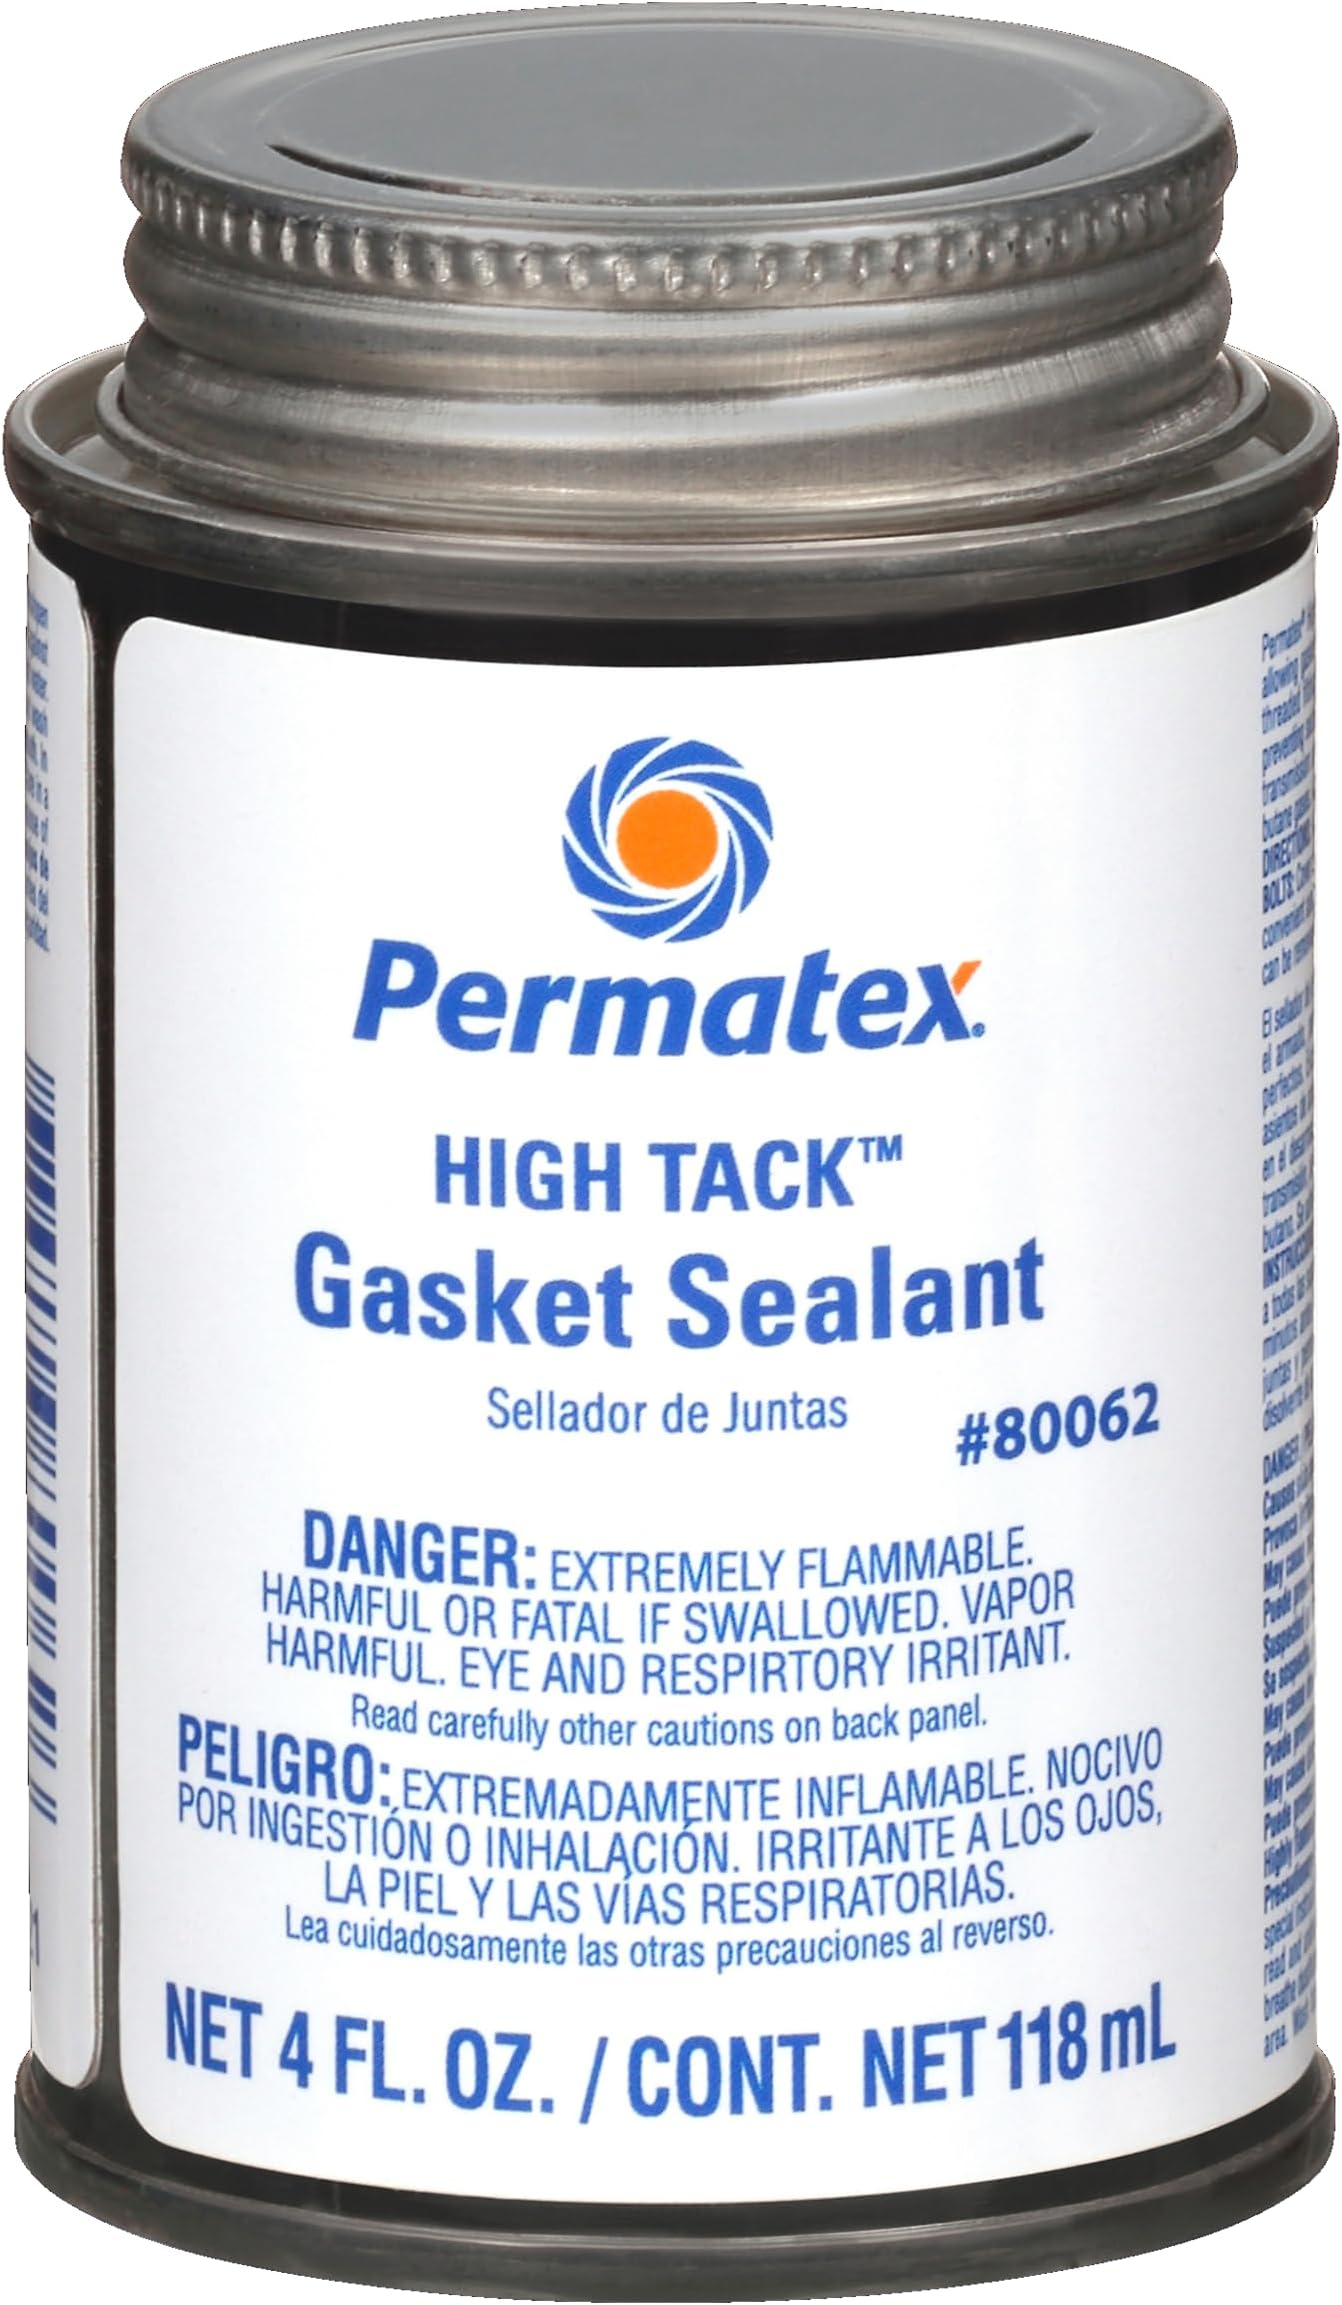
Permatex 80062 High Tack Gasket Sealant is a fast-drying, rubber-based sealant that forms a permanently tacky, non-brittle film. Designed for metal surfaces, it resists a wide range of automotive fluids including gasoline, oil, and antifreeze. Its 4 oz size offers precise application, making it a trusted staple for professionals seeking reliable, long-lasting gasket sealing.

| ASIN | B000HBGHB8 |
| Best Sellers Rank | #74,525 in Automotive ( See Top 100 in Automotive ) #274 in Automotive Fillers, Adhesives & Sealants |
| Brand | Permatex |
| Brand Name | Permatex |
| Compatible Material | Metal |
| Customer Reviews | 4.7 out of 5 stars 1,853 Reviews |
| Global Trade Identification Number | 00686226800626 |
| Item Dimensions | 6.2 x 6.2 x 7 centimeters |
| Item Form | Liquid |
| Item Weight | 0.01 Ounces |
| Item dimensions L x W x H | 6.2 x 6.2 x 7 centimeters |
| Item weight | 0.01 Ounces |
| Manufacturer | Permatex |
| Material | Rubber |
| Material Type | Rubber |
| Model | 80062 |
| Number of Items | 1 |
| Part Number | 80062 |
| Style | Modern |
| Style Name | Modern |
| UPC | 686226800626 |
| Unit Count | 4 Milliliters |
| Water Resistance Level | Water Resistant |
| Water resistance level | Water Resistant |
J**L
Works as intended-
Great gasket sealant, this is what people used before silicone / RTV.
P**K
A gift from god
I love this stuff, personally I wouldn’t ever use any gasket sealer other than this stuff. It’s very messy and can be a little difficult to apply, but it has never failed me. wear gloves it’s possibly the stickiest substance known to man.
A**R
gasket adhesive
Good quality product
J**.
Excellent stuff
Excellent stuff,replaced sump gasket and was invaluable for in holding it in place on the block.
M**A
Used on a Rear Differential Gasket, No Leaks
My axle seals in my 1993 F-150 failed and leaked over my brakes, so a repair was needed. That meant draining the rear differential in order to gain access to the axle. There are many schools of thought regarding how best to re-attach the cover to the differential once the work is done. Options include: RTV only, gasket only, gasket with RTV and gasket with this high tack sealant. It seems the preference has moved to using RTV only especially in newer vehicles. That may be related to manufacturing processes and the simplicity of having an automated tool dispense the RTV as the axle moves down the line. Keep in mind that the differential is likely facing upwards during the manufacturing process to facilitate the RTV application. In the real, shade tree mechanic world, this rarely happens. The surface is vertical and presents minimal challenges, but one can still mess it up if not careful. I’ve used RTV only in my 2014 F-150 and have evidence of minor seepage. That’s on me, as it was the first time that I ever used RTV only, as that was the OEM process. In contrast, my 1993 had a gasket and likely an adhesive. It was a bear to clean, as I had to scrape its remnants from both surfaces. I replaced the fluid in 2018 and used a gasket and RTV. Reading further into the best practices, some folks commented that a gasket and RTV should never be used together. I wish I read that earlier, as there was evidence of minor seepage beyond the gasket. I then took a deep dive into the F-150 forums and found someone who had suggested using a gasket with Permatex High Tack Gasket Sealant. He noted the sealant doesn’t harden or cure, so re-servicing is slightly easier. I opted to give this a try, and I’m glad I did. I made sure both surfaces were free of gasket, grease, dirt and RTV. A light sanding on each surface was followed by a wipe with brake cleaner. Make sure the sump in the bottom of the differential is empty, or at least not near the edge, as it may wick over and drip on the bottom surface and render your seal useless. As I noted above, there are multiple suggestions as how to apply this to the surfaces and gasket. Here’s what I did. I laid the cover flat and applied the sealant to the sealing surface. The sealant has a brush. I ensured there was a good coating especially where the gasket would be in contact with the cover. I then applied the gasket to the cover. The sealant holds the gasket in place, so make sure you align the holes. This sealant is unique in that it gets stringy when exposed to air. I found it best to work quickly and not to go over areas multiple times to avoid clumps. I then applied the sealant to the other side of the gasket, that is the side that’s against the differential surface. It was just easier for me this way, as I was working on the ground. You can likely add it to the differential if you’re working with a lift. Excess towards the inside of the cover, and therefore differential, can be wiped after the gasket is laid on the cover. I carefully aligned the cover, added 1-2 bolts to hold it in place and then torqued all 10 bolts to 30 ft lbs. I don’t think there is any cure time with this product, but seeing as I had other things to do, I left the differential empty until it was my last task. That was about 1-2 hours later. There are no leaks, so this will be my preferred method going forward with this truck. Good stuff.
Trustpilot
1 week ago
1 month ago