Description
🏁 Own the Drift, Rule the Streets – AE86 RC Power Unleashed!
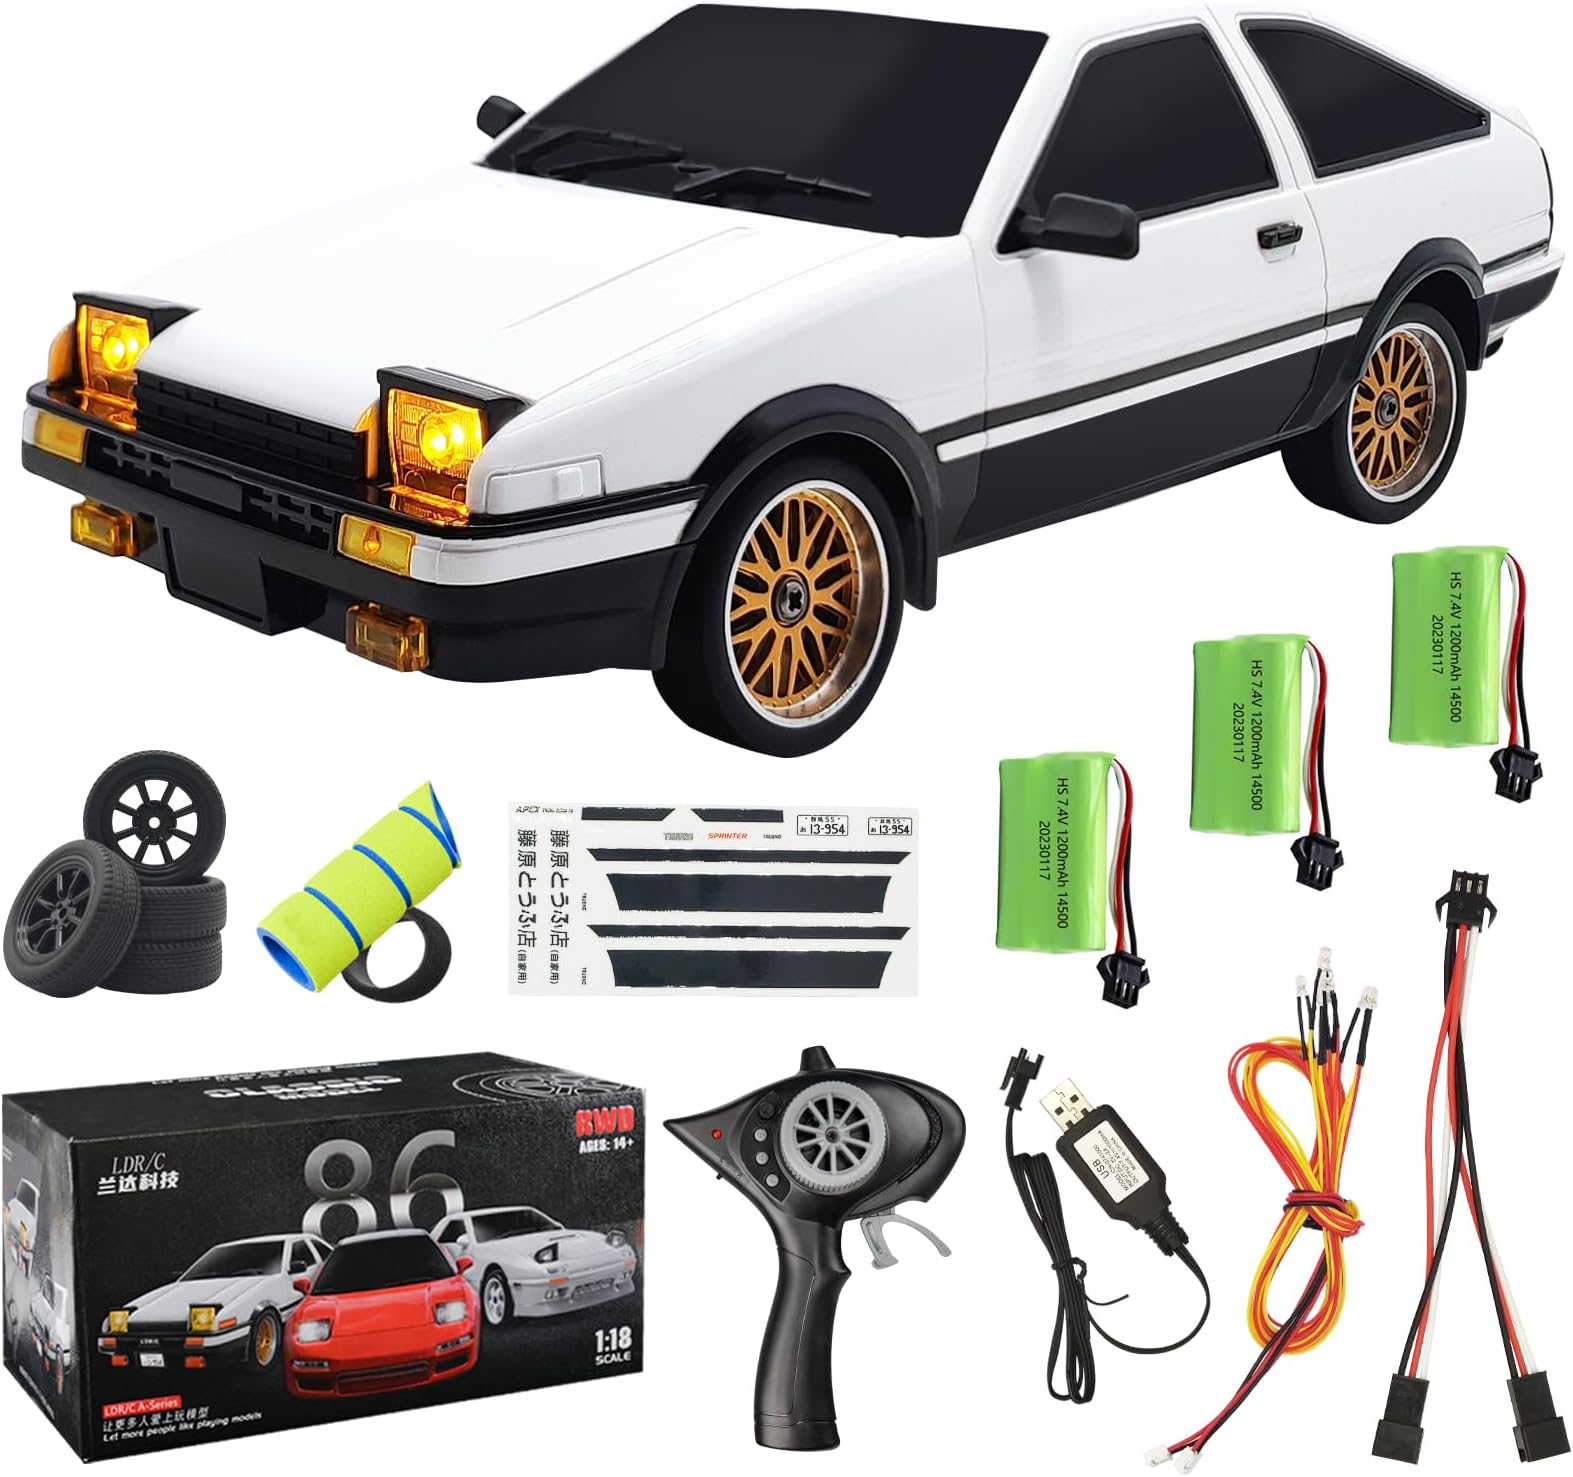
- ENDURANCE POWER PACK - Includes 3 upgraded 1200mAh Li-ion batteries with overcharge and low voltage protection for extended play sessions.
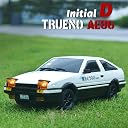
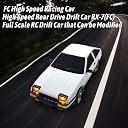
- AUTHENTIC SCALE BUILD - 1:18 scale with metal drive shaft and ABS body, perfectly replicating the iconic Initial D AE86 for collectors and hobbyists.
- PRECISION DRIFT MASTERY - Experience authentic AE86 drifting with a built-in gyro and multi-link suspension for razor-sharp control.
- FULLY IMMERSIVE LIGHTING - Realistic headlights, brake, reverse, and turn signals with remote-controlled hidden headlamps for night-time thrill.
- PRO LEVEL REMOTE CONTROL - 2.4Ghz 3-channel proportional steering and throttle with 30-50m range—feel every turn like a true driver.
The LEOSO LD1801 AE86 RC Drift Car is a 1:18 scale, highly detailed remote-controlled model inspired by the iconic Initial D AE86. Equipped with a 150 high-speed motor, 10A ESC, and a built-in gyro system, it delivers precise proportional steering and throttle control via a 2.4G 3-channel remote with a 30-50 meter range. Featuring realistic multi-light systems and three upgraded 1200mAh lithium-ion batteries with advanced protection, this drift car offers extended playtime and authentic performance for hobbyists and collectors alike.