Desert Online General Trading LLC
Dubai, United Arab Emirates
Desert Online General Trading LLC
Dubai, United Arab Emirates


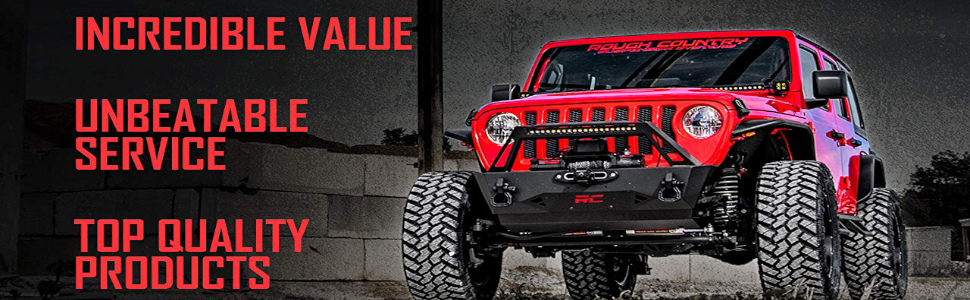
⬆️ Upgrade your Jeep, upgrade your adventure!
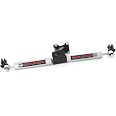
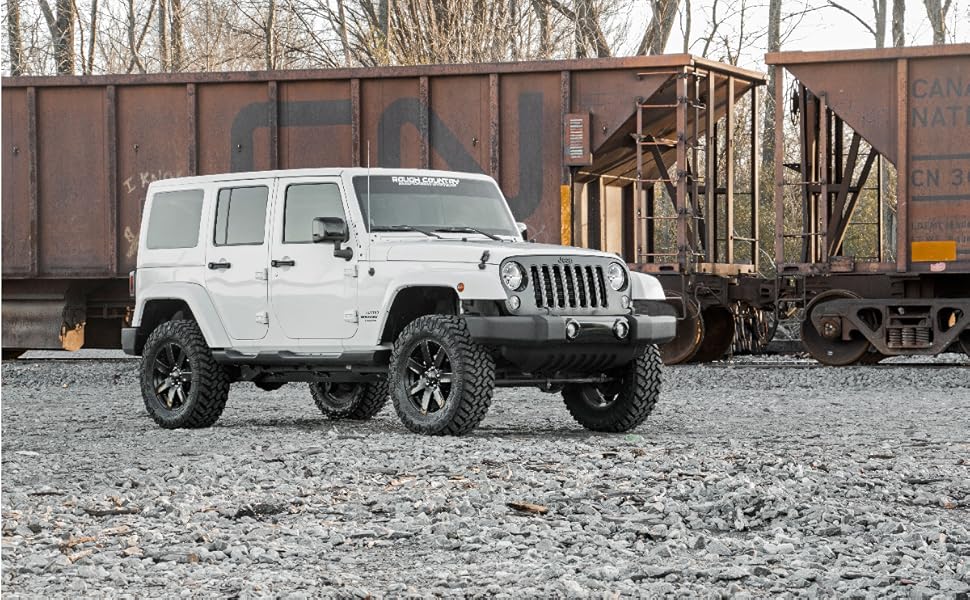
The Rough Country 2.5" Series II Lift Kit for 2007-2018 Jeep Wrangler JK delivers a precise 2.5-inch lift with a no-drill, bolt-on installation. Featuring spring retention coil springs and a rear track bar bracket, it enhances off-road performance and axle alignment. Constructed from durable alloy steel and aluminum, it supports up to 35" tires and comes with a limited lifetime warranty, making it the ultimate upgrade for Jeep enthusiasts seeking style, protection, and rugged capability.


| Brand | Rough Country |
| Auto Part Position | Driveline |
| Material | Alloy Steel, Aluminum |
| Included Components | (4) 2.5" Coil Spring Spacers, Brake Line Relocation Bracket, Extended Sway Bar links, Hardware, Track Bar Relocation Bracket |
| Maximum Lifting Height | 2.5 Inches |
| Manufacturer | Rough Country |
| UPC | 843030111564 |
| Global Trade Identification Number | 00843030111564 |
| Automotive Fit Type | Vehicle Specific Fit |
| Model | 2.5" Series II Lift Kit |
| Item Weight | 17.69 pounds |
| Product Dimensions | 28.75 x 6.25 x 7.5 inches |
| Item model number | 635 |
| Is Discontinued By Manufacturer | No |
| Exterior | Machined |
| Manufacturer Part Number | 635 |
| Special Features | 35" tires will clear but rubbing may occur with extreme articulation, If planning on running 35" tires on factory wheels, double check clearance between the front tire, lower control arm and sway-bar links. |
| Construction | Drilling Required: No |
Trustpilot
3 weeks ago
4 days ago