
DOWNLOAD THE APP


Customer Services
Copyright © 2025 Desertcart Holdings Limited
DOWNLOAD THE APP
🌮 Press, Create, Impress — Your Kitchen’s New MVP!
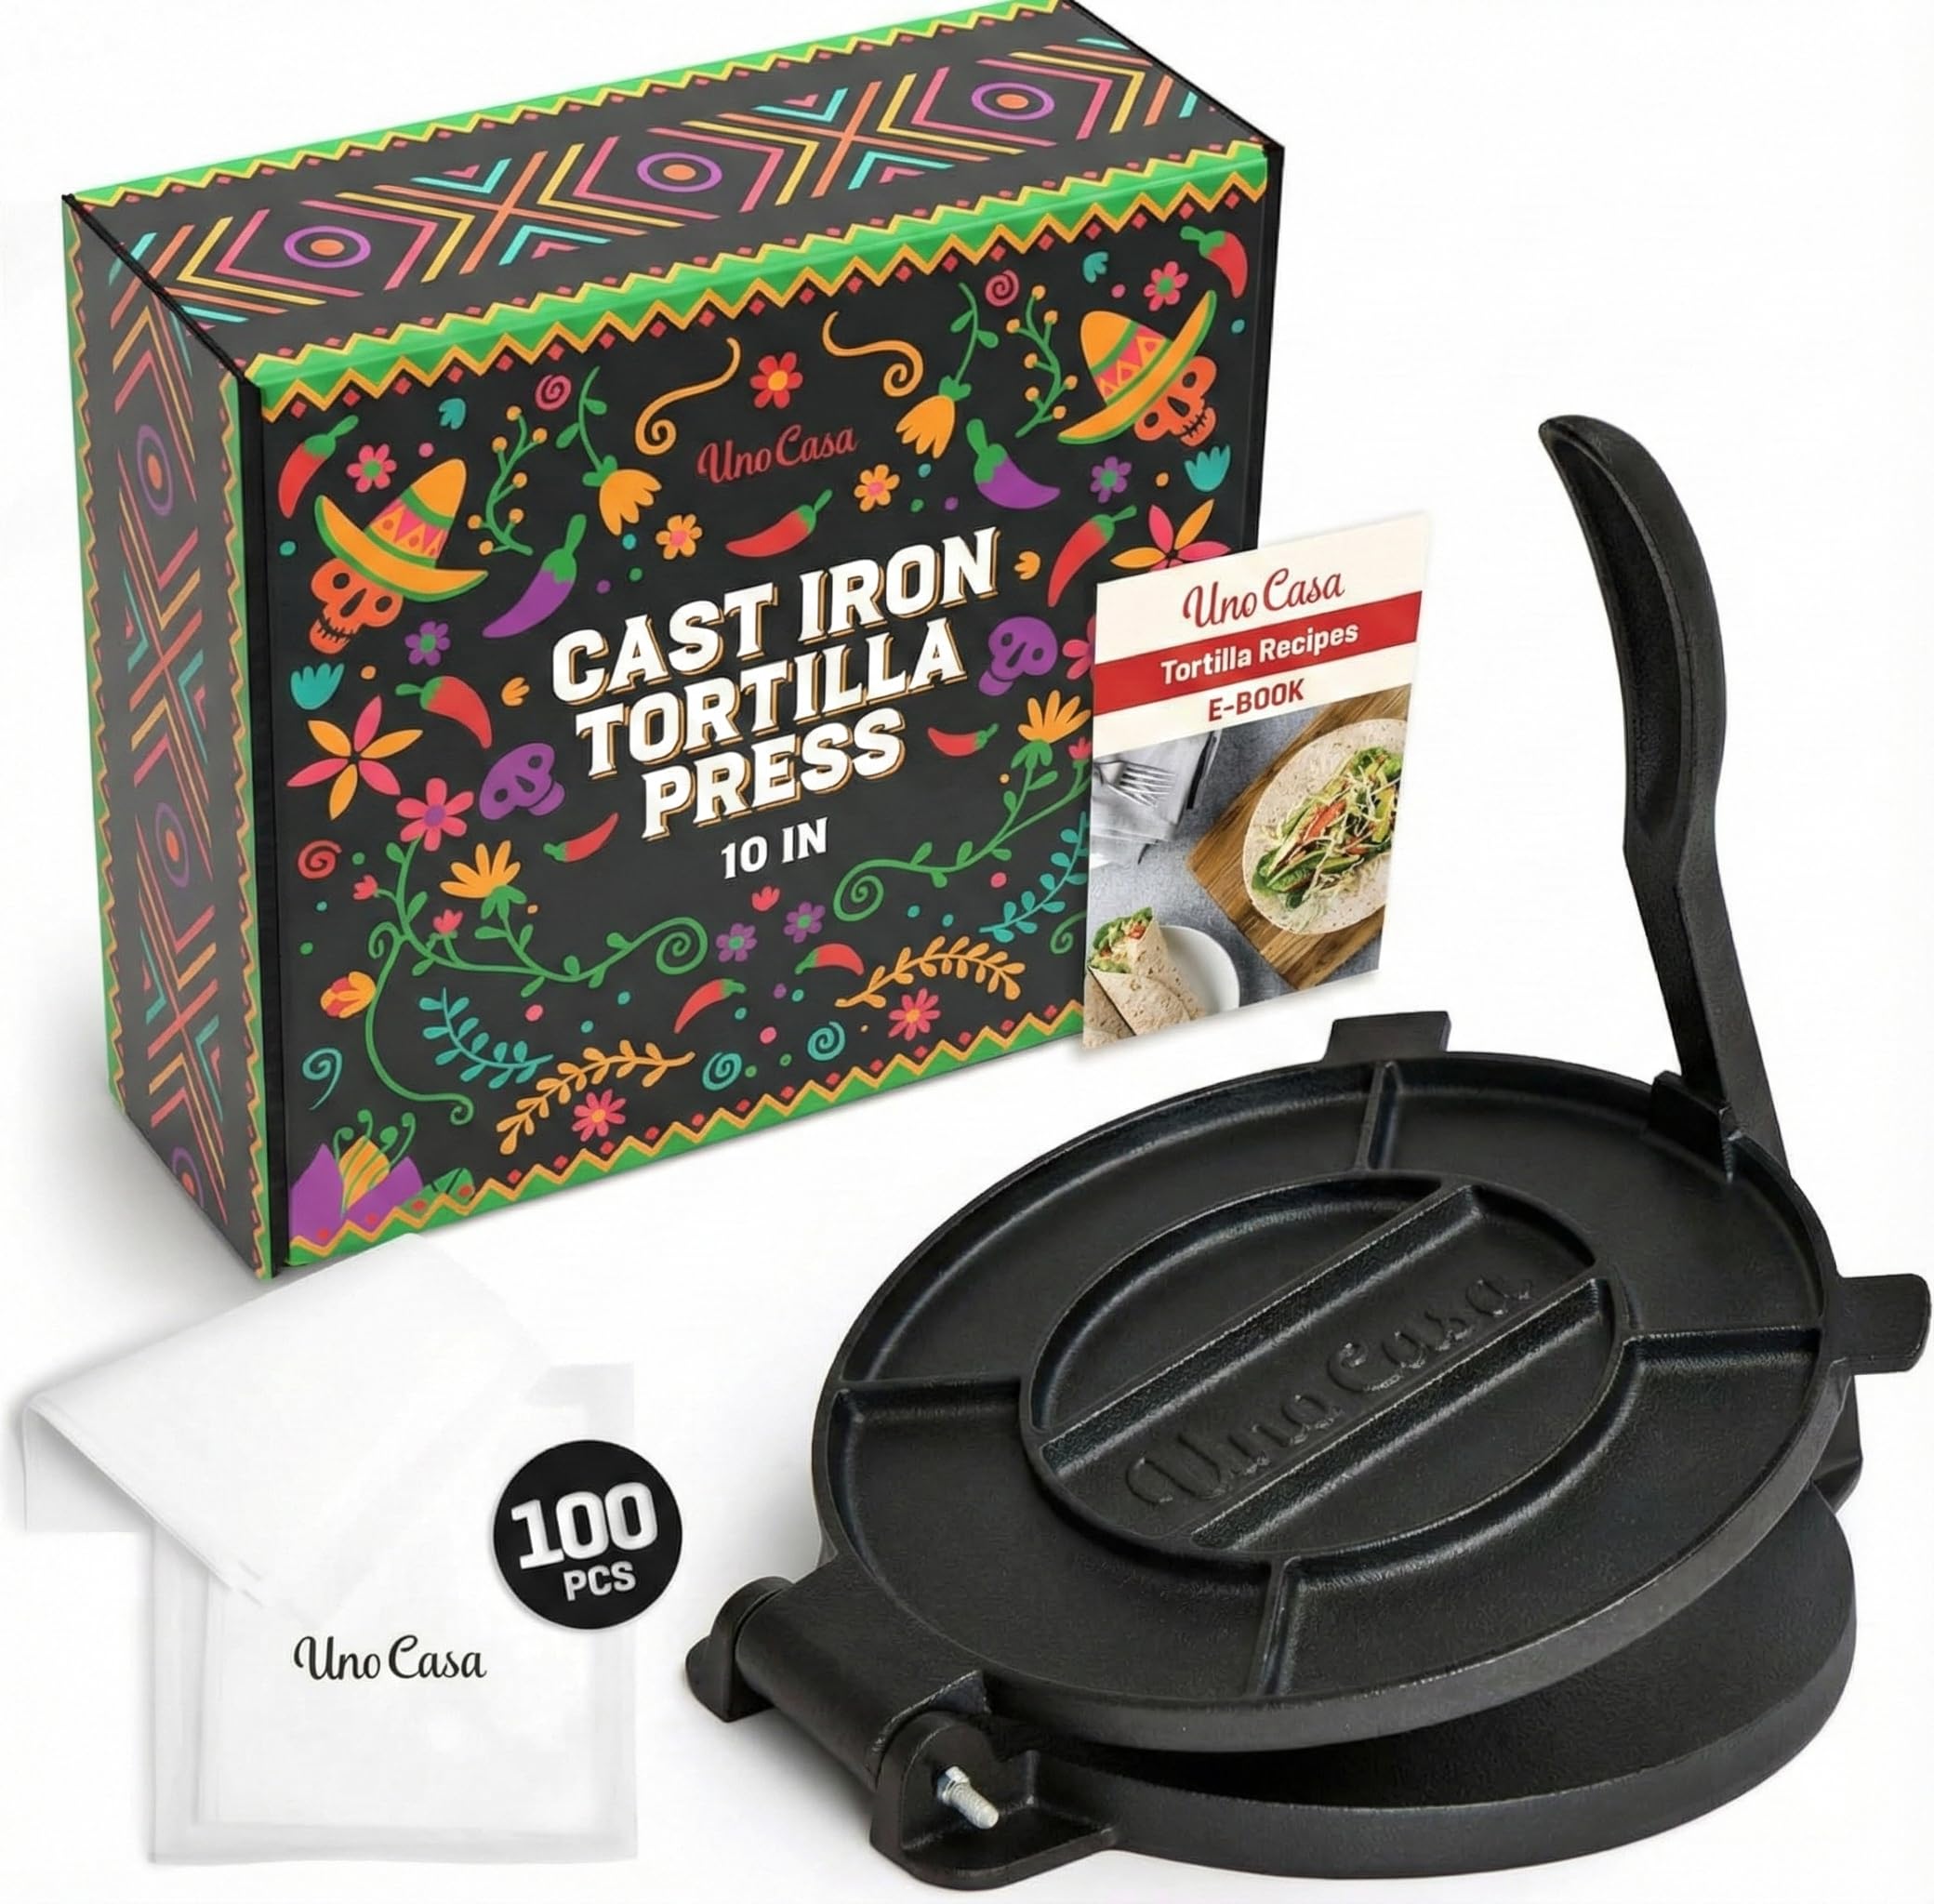
The Uno Casa Cast Iron 10 Inch Tortilla Press is a heavy-duty, pre-seasoned kitchen tool designed for effortless, perfect tortilla making. Its large 10-inch surface and durable cast iron build provide even pressure for consistent results. The package includes 100 parchment paper rounds, extra screws, and a digital recipe e-book, making it a versatile and ready-to-use addition for any home chef aiming to master tortillas, rotis, and more.


| ASIN | B07W719S5K |
| Brand | Uno Casa |
| Color | Black |
| Customer Reviews | 4.3 4.3 out of 5 stars (3,133) |
| Date First Available | 30 November 2019 |
| Item Weight | 5.3 Kilograms |
| Material | Wood Pulp |
| Model Number | 8719689877200 |
| Product Dimensions | 31.75 x 25.4 x 7.62 cm; 5.3 kg |
| Special Features | Heavy Duty, Scratch Resistant |
J**K
Jest ciężka i stabilna i robi doskonale placki. Nie wiem jak inni ja jestem zadowolony. Uważam że zakup trafiony w punkt. Zaszczepiłem się tacosami będąc za oceanem I teraz nie ma tygodnia żebym nie robił. Tym bardziej że w internecie jest w mnóstwo przepisów na farsz. Polecam. Uważam że pieniądze wydane dobrze.
S**P
So this is going to be a long review, but if you want really good tortillas you may want to read it. This is a review of the 12 inch t-maker. Two key points: 1) Great cast iron. 2) Needs mods to make great, thin tortillas. The 5-star review is based on the relatively easy mods done to make this a great thin t-maker. Out of the box you will note that this is a very heavy, well made cast iron product. It has the industry standard "pre-seasoned" coating. To really season this product, get some flax seed oil and a brush. Unscrew everything, and coat all with a light coating of oil. Use a brush as there are a lot of non-square surfaces. Used the brush to get the oil inside the holes for the screws. Note: Only a very light coating -- no drips/pools. Pop into a 450F oven for an hour, and be sure to open all your windows and turn on all your exhaust fans. When the product cools you will see an incredible brownish-black new seasoned coating. This is the very best coating you can get. Now go to your local stores and buy the following: 1) A 4.5 x 1/4 stainless steel hex bolt with either matching stainless lock-nut, or a standard stainless nut (if you use the t-maker on the stove). 2) A 1/4 inch x 3 inch "Safety Coupler" lynch pin (see the picture). These are used for hooking up tractor devices to rear hitches so a "country" or "tractor" supply store will have them in stock. Both items should cost less than $3 each. Replace the back bolt with the 4.5 inch stainless hex screw, and replace the front screw with the lynch pin. Note that this will take all the "play" out of the t-maker. The Mfg suggests "play" is a good thing, but if you want thin tortillas this is not true. Despite the bolts being the same size the UCasa bolts are thinner and weaker than what you will replace them with. So if you use the packaged bolts you cannot make a thin tortilla, and will certainly bend/break the handle bolt (hence they give you a second one in the package). Again, impossible to get a tortilla that is less than 1/8 with the supplied bolts (1/8 may be over-stating how thin you can get -- there is a lot of "play"). An upside of using the "safety coupler lynch pin" is that it gives a really handy "handle" to grab when moving the t-maker (I bought the rounded versino). This is pretty heavy product, and while there is a natural gap in the rear to grab, the front lies flush with the counter. Not that easy to move with the standard equipment. The lynch pin is a great salvation when moving the device. Also the pin is way, way stronger than the supplied bolt, so it will not bend/break. Changing out the supplied bolts removes most of the "play" between the plates and handle. With the standard bolts you can raise the handle fully to the open position with the top-pate flat without any issues because of the "play". With the replacement bolt/pin you cannot do this. You have to use two hands: one to raise the handle, and the second to lift the upper part of the t-makers to clear the handle as you lift it. This is simple and easy, but not quite as convenient when there is "play" available. Finally you need to change/spread the contact point of the handle. The t-maker has a small approximate one inch raised ridge that you leverage down with the handle. This is a significant weak point. First, it focuses the pressure at the very front of the t-maker. Despite it being a solid piece of iron it is very hard to get an even edge-to-edge pressure when pressing down. One side likely will thinner. Second this is a significant wear point. The fix is super-easy. Get a 12 inch long piece of 2x4 kiln-dried lumber, and use it to leverage the handle down (you need to hold it in place when you press down -- hence my added handle in the pic). Even without the handle I added, this is very easy to use, and works great to fix the problems with the 1-inch leverage point. To make a very thin tortilla you will need to do four cycles. For each cycle press down very hard, and pump the handle a few times. Open the t-maker, rotate the tortilla a quarter turn, and repeat. With 75-80 grams of masa you should get a 10-11 inch tortilla that is 1/16 or less thick. Here are some additional hints not related to this t-maker: 1) Use a napkin and some avocado/sunflower to lightly coat the parchment paper before spreading the masa. 2) Use a flat glass container to initially press the ball into a good round. If you do this, no need to offset the ball in the maker. 3) The top layer of parchment is easy to remove, so take if off and take the tortilla stuck to the bottom layer to your pan. 4) Center and drop the paper/tortilla into the pan. Use a silicon spatula to "free the initial edge" of the tortilla from the paper. You can then easily peel the paper away. Parchment does not burn easily, so no worries there. HTH, and GOOD LUCK. Months Later Update: I wanted to add an update given I have been working on my tortilla process ever since my purchase. I am now consistently making great 50/50 tortillas about 11 inches in diameter. Love, love the 50/50 flavor and "rollability". Insights: A) I bought a roll of 12 inch silicon baking mat and cut two 12x12 squares from it. Lightly coat these with Avocado oil prior to pressing each tortilla and they work GREAT & seem to last forever (still on my first pair). Peel off top, flip top onto removed bottom, peel off, fold over and drop onto the comal to cook (silicon spatula need to initiate the peel). Works fantastic. B) Had to go back to the thinner, original bolt in the back as an 11 inch gets too thin at the back with the thicker bolt. C) My recipe: --110 grams Bob's Redmill masa (uniquely good), --70 grams white flour, --1/2 Tablespoon vital gluten (mix these three in a bowl) --3/4 cup less 2 tablespoons water, --1 tablespoon duck fat, 1/4 teaspoon salt (add these three into a pyrex bowl and microwave for one minute). Stir heated mixture until salt & fat are dissolved. Add water mixture to flour and mix with a spatula (it is hot). Put final mix onto a wetted board, and knead for about 2 minutes. Wet your hands while kneading to get the texture pretty 'wet' -- the Red Mill masa will absorb quite a lot of this moisture. Cover with saran wrap and let sit for an hour or so. Separate into 3 balls by weight (should be about 123 grams each). Press on the maker rotating it three times -- press really, really hard to get an 11+ inch spread. Cook at 500 degrees for maybe 90 seconds per side (varies as my temp control on the comal is not that great). Store in an airtight container. Enoy.
A**R
Den fungerar, men när man trycker till så blir det sned belastning - vilket leder till att tortillan blir tunnare i ena änden än den andra änden. Så man får trycka, öppna, vända, trycka, öppna, vända etc.
C**S
It makes life so easy, and has encouraged me to cheat! I know make the dough in a food processor, just the same way I make shortcrust pastry. I just add hot water until it forms a ball, which makes the dough a bit wetter than my usual roti/tortilla recipe. Then I put the press on an induction stovetop (not too hot, mind! I set my Ikea cooktop to #6, and be sure to let it heat right through.) Then I press a ball and cook it at the same time. By the time the ball is pressed out the bottom side is cooked, and I open up and flip it, cook the second side and done! IF you use the press cold, the dough doesn't get thin enough and needs a little extra rolling before cooking on a comal or griddle, but making wetter dough and pressing it hot turns out fantastic!
P**T
Bel appareil en fonte, très stable, mais impossible d'obtenir une galette fine de 2mm. Ça marchera très bien pour des galettes ub peu épaisses.
Trustpilot
1 month ago
2 months ago