
DOWNLOAD THE APP


Customer Services
Copyright © 2025 Desertcart Holdings Limited
DOWNLOAD THE APP


🚀 Boost your signal, boost your life—never miss a beat!
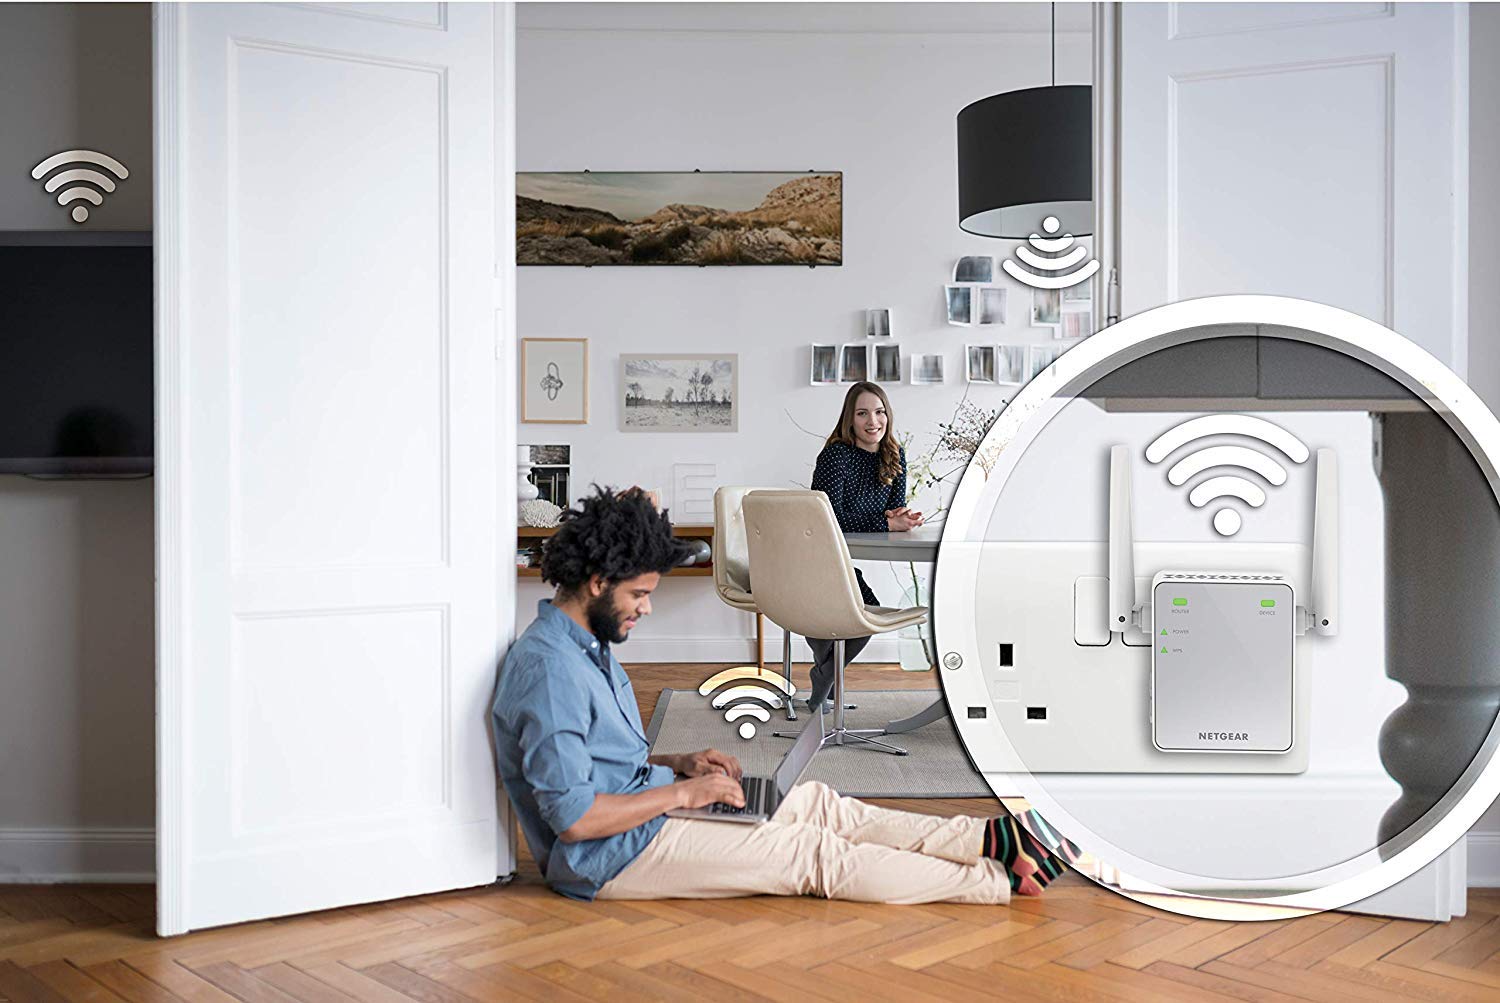
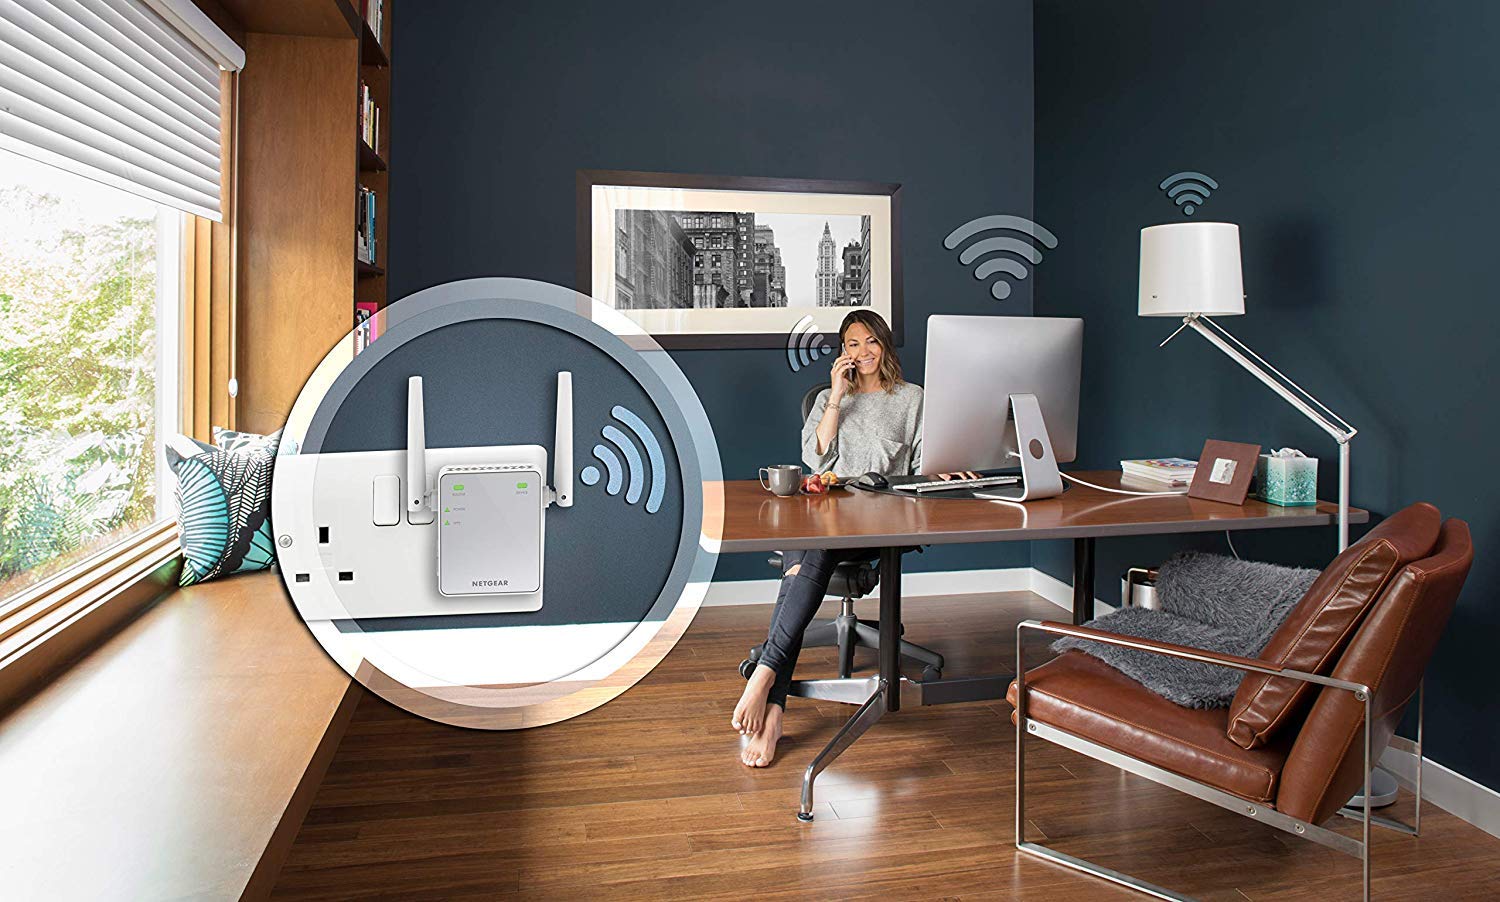
The NETGEAR N300 WiFi Booster Range Extender enhances your wireless network by extending coverage up to 600 sq ft and supporting up to 10 devices simultaneously. Delivering speeds up to 300 Mbps, it features universal compatibility with any router or modem, a convenient wired Ethernet port, and secure wireless protocols. Easy WPS setup and the NETGEAR Wi-Fi Analyzer app ensure optimal placement and performance.
| Wireless Type | 802.11n, 802.11b, 802.11g |
| Brand | NETGEAR |
| Series | FBA_EX2700-100UKS |
| Item model number | EX2700-100UKS |
| Item Weight | 3.46 ounces |
| Product Dimensions | 2.17 x 1.34 x 2.64 inches |
| Item Dimensions LxWxH | 2.17 x 1.34 x 2.64 inches |
| Color | berry |
| Manufacturer | NETGEAR |
| ASIN | B00NIUHAG6 |
| Is Discontinued By Manufacturer | No |
| Date First Available | October 18, 2014 |
V**K
Coverage
I still face minor issues
W**A
Impressive
I have paid full price for this item so as such it is an unbiased review. Having read the varied reviews for this wifi extender I was a little dubious about committing to it but having bit the bullet I have no regrets as it does exactly what it says on the tin. The provided instruction, 'Quick Start', booklet is very easy to follow but just in case you are having any doubts or need convincing how easy it is I have compiled this simple to follow guide with photos (Please note that my guide is for WPS set up only but this device can be set up manually for WEP using the instructions in the Quick Start booklet) . 1. Plug the extender into a power outlet as close to your router as is possible, please note that it is a three pin UK plug.2. Press the WPS button on the side of the extender (See photo #3) and the WPS LED should blink (See photo #4).3. You must now press the WPS button on your router within two minutes.4. The WPS LED will continue to blink until it has connected with your router it will then be a solid green light (be patient as this can take a minute or so) and the Router Link LED (See photo #5) will be solid green. If you don't get a solid green light (WPS LED) repeat stages 2-3. If it still does not work revert to the Quick Start guide, page 10, for WEP set up as you may have security enabled on your router.5. Now unplug the extender and plug it into a power oulet mid way between your router and the area where you want to improve wifi coverage.6. Wait for the Power LED to turn green (photo #1).7. Ideally you want the Router Link LED (photo #5) to turn solid green (best signal strength) or amber (slightly weaker).8. If it fails to turn green or amber relocate the extender closer to your Router and repeat stages 5-7. Repeat until you get a green or amber Router Link LED. (My router is located upstairs and I have positioned my extender in the living room downstairs with two brick internal walls and a floorboarded level between them and my wifi has more than doubled in signal strength.)9. Once you have achieved stage 7 you will need to log your devices (mobile, laptop, Xbox etc) into the Extender. Go into the relevant device settings>wifi and find the relevant network name. It will be your usual router network name i.e. PLUSNET-ABCD with _EXT at the end i.e. PLUSNET-ABCD_EXT. When you are prompted for the security password enter your usual wifi router password.It's as easy as that, mine took literally minutes to set up and I'm no IT geek. It's early days as I only got my extender four days ago but it has been running constantly since then and has drastically improved my wifi downstairs. The unit does run a little bit warm but nothing to get concerned about.For the price I don't think you can better this extender and I have no qualms in recommending this device to family and friends.
A**Y
Worked well using WPS setup - you can follow the instuctions in the supplied booklet
Was a bit concerned as there seems to be a few horror stories on setup. I have a WPS button on my (BT Homehub 3) router and so opted to try that method.- Note that the supplied instructions for WPS setup in the booklet are good.- Plug in the extender relatively near to your hub/router. Power button is amber at first and then turns green. Don't be tempted to plug it in where you have the reception problem!- Press the WPS button on the extender. The WPS LED on the extender will flash green- Then press the WPS button on the router. The wireless LED on the router then flashes orange (this will be router specific but valid for the BT hub in question)- First time nothing much else happened. After about 2 mins nothing had connected and everything had reverted back to the way it was).- Repeated the exercise and this time the wireless LED on the router illuminated blue (as it should be in normal use). On the extender the WPS LED was now solid green and the router LED was now illuminated (solid green).- You can now unplug the extender and move it. Placement obviously depends on your circumstances (and whether you are using multiple extenders) but for one extender then find a socket about half way between your router and the dead zone- Now this is where it is easy to think job done. I assumed the extender would simply extend the use the same SSID as the hub and authenticate automatically any device that had accessed the hub's wifi. But on each wireless device you want to connect, you have to manually select the SSID of the extender. It will be the name of your hub with _EXT appended to the name. If you forget this step then your devices will simply be trying to connect to the hub as before and so you have achieved nothing! Note this is explained in the instruction booklet. No excuses!- Enter your normal hub/router password and the device joins the new network- Remember that the extender and the hub/router wireless operate as two separate WiFi networks and so your device will not see it as one network and connect to whichever has the stronger signal as you move around. In fact for me my extender is very central and so now generally works from anywhere- If I am connected to the hub's wifi network and then move to the dead zone then I will see my device temporarily lose wifi and then connect to the extender's wifi (so for example on a mobile phone then the wifi symbol reverts to 3G/4G and then about 20 seconds later will pick up the extender- You can check signal strength (to test for optimal placement) both on your device (e.g. signal strength bars) and at the extender where there is a device LED that should glow green (or amber). If red then move the extender. I guess optimally you want it green- The extender does take about a minute to restart and reconnect if you unplug it and move it and so if you are experimenting with placement then be patient for it to complete its restart and reconnect- 5 stars? - well I have only been using it for an hour! We will see- Not sure what happens if you have multiple of these. Do they each get a new SSID? e.g _EXT, _EXT_1 etc. I presume that Netgear has thought of this!UPDATE: has been working well for 18 months. Had to set it up on a different router (this time Virgin Media V6 Hub). So first step is to reset the extender by inserting a paper clip into small hole in underside). Took me a couple of goes to force it to reset but you can check it is reset as the SSID reverts to “NETGEAR_EXT”. Then repeat the WPS setup. For me this did not work but then I realised the repeater works with 2.4Ghz only and my router was 5Ghz. So I would either have to turn on 2.4Ghz on the router or use manual setup which does let you repeat any 2.4Ghz WiFi it can see rather than just the one coming from the router. For some reason the manual setup process requires you create an account. No idea why. And each time you do a reset you have to create a new account. The manual process seemed prone to have to repeat some steps but stick with it and it will ask for your SSID passcode. Then the extender appears as before with the name of “your chosen SSID_EXT”.OK so not perfect but worthy of 5 stars as excellent fix to WiFi black spots for little money.
T**I
Works great.....eventually! - N.B. - Do not contact Netgear in event of installation issues!
I am relatively tech-savvy, but I made the rare mistake of reading and (trying to) follow the installation instructions, which caused me a good hour of headaches and nearly resulted in the unit being returned. Now it is up and running it is great - have it about ten metres from the router in an area where the signal is quite weak due to thick walls in an old house, but it is linked well and provides an excellent signal at the rear of the house and into the garden, all of which was pretty much a deadsport previously.Following the supplied instructions and trying to install via a browser window (page 10 of manual) I was unable to access the router - the address was not recognised and I kept being redirected to a "support page". After an online "chat" I was given a free-phone number to contact Netgear support - this worked easily enough, but the support was next to useless - told me I would not be able to use the extender without purchasing additional software!!!I then did what I (and probably 80% of the population) normally do and tried to install it without referring to the manual......2 minutes later all sorted and working perfectly!!!!Hopefully you will not have these issues, but if you do need any help, here is how I did it;-Plug unit into socket close to router and power on - orange light will show and after 30 seconds (approx) will turn green.-Press WPS button on left side of unit - second light on unit will start to flash green.-On your computer look for available wi-fi networks, the Netgear extender will show, click to connect.-This will automaticaaly open a browser tab (I had the browser open already) with the login page for the extender.-follow the on page instructions to enter account and security / logon details. Router light will illuminate on extender.-when this is complete, unplug extender and position in area of house between router and (as close as possible to) deadspots you wish to eliminate. Unit will power up as before.-On laptop / phone / tablet etc search wi-fi connections for your newly named network and log on.-hopefully, as for me, it will now work a treat!Hope this helps!Edit 14 October 2017 - Thank you to all for your kind comments, I am so glad my review has been helpful and really appreciate you taking the time to let me know. I apologise for not replying to your individual comments.I have amended my review from 4 stars to 5 stars as the unit has now been plugged in for nearly 4 months and has performed without fault. It has not had to be unplugged / reset and has given me an excellent signal throughout this time.
D**K
Great alternative to Powerline adapters for adding LAN ports around your home. And it exptends your wifi converage too.
Bought this to replace a pair of unreliable powerline adapters.I actually didn't need to extend the range of my wifi, I simply needed to get a stable connection from my router down one end of the hall, to all the devices sitting around my TV in the living room.Powerline adapters proved unreliable so, as this had a LAN port, it seemed like a good solution.And it was.Connects wirelessly to my router and passes the internet connection throught the LAN port to a switch where I have everything else plugged in.Took as long as it takes to boil a kettle to set up using WPS.Was just a case of plugging it in and pressing the button on this and my router.About 2 minutes later everything was up and running as expected.And so far (couple of months now) the connection has been flawless. Compared to the stability of the powerline adapters.So not using this for intended purpose, but it's nice to know that I have even more wireless coverage with the router at the front of the house and this at the back.Suprised such a quality bit of kit goes for so cheap.So overall very happy. Would recommend.
R**E
TO PUT IT BLUNTLY, DONT BUY
This is my honest review of the netgear wifi booster,Easy enough to connect to my virgin media hub, however it only makes my connection worse!The first picture is my download speed, I was getting on my mobile phone, using the highly accurate speed test app. Pretty good right?Then I used the Netgear booster and took a reading in the same spot using the same speed test app, the results as depicted in the second photo show true evidence that this product does not match or enhance your internet speed.So far, waste of money, I've tried in different rooms of the house resulting in equally terrible upload speed, I've moved the netgear around the house to see any improvement, sadly.....NONE!The app doesn't show much and doesnt really give you any options to change anything, the installation was pretty bad using both the WPS on the netgear and WPS on my brand new virgin box, they couldn't pair!Has potential but doesnt deliver.Edit: Amazon customer service helped me with this matter and I'm sending this back for a full refund.
Trustpilot
5 days ago
1 month ago