Description
🖨️ Clean Heads, Clear Prints, Zero Regrets!
- ECO WALLET FRIENDLY - Restore your printer’s performance without buying new cartridges—print smarter, not harder.
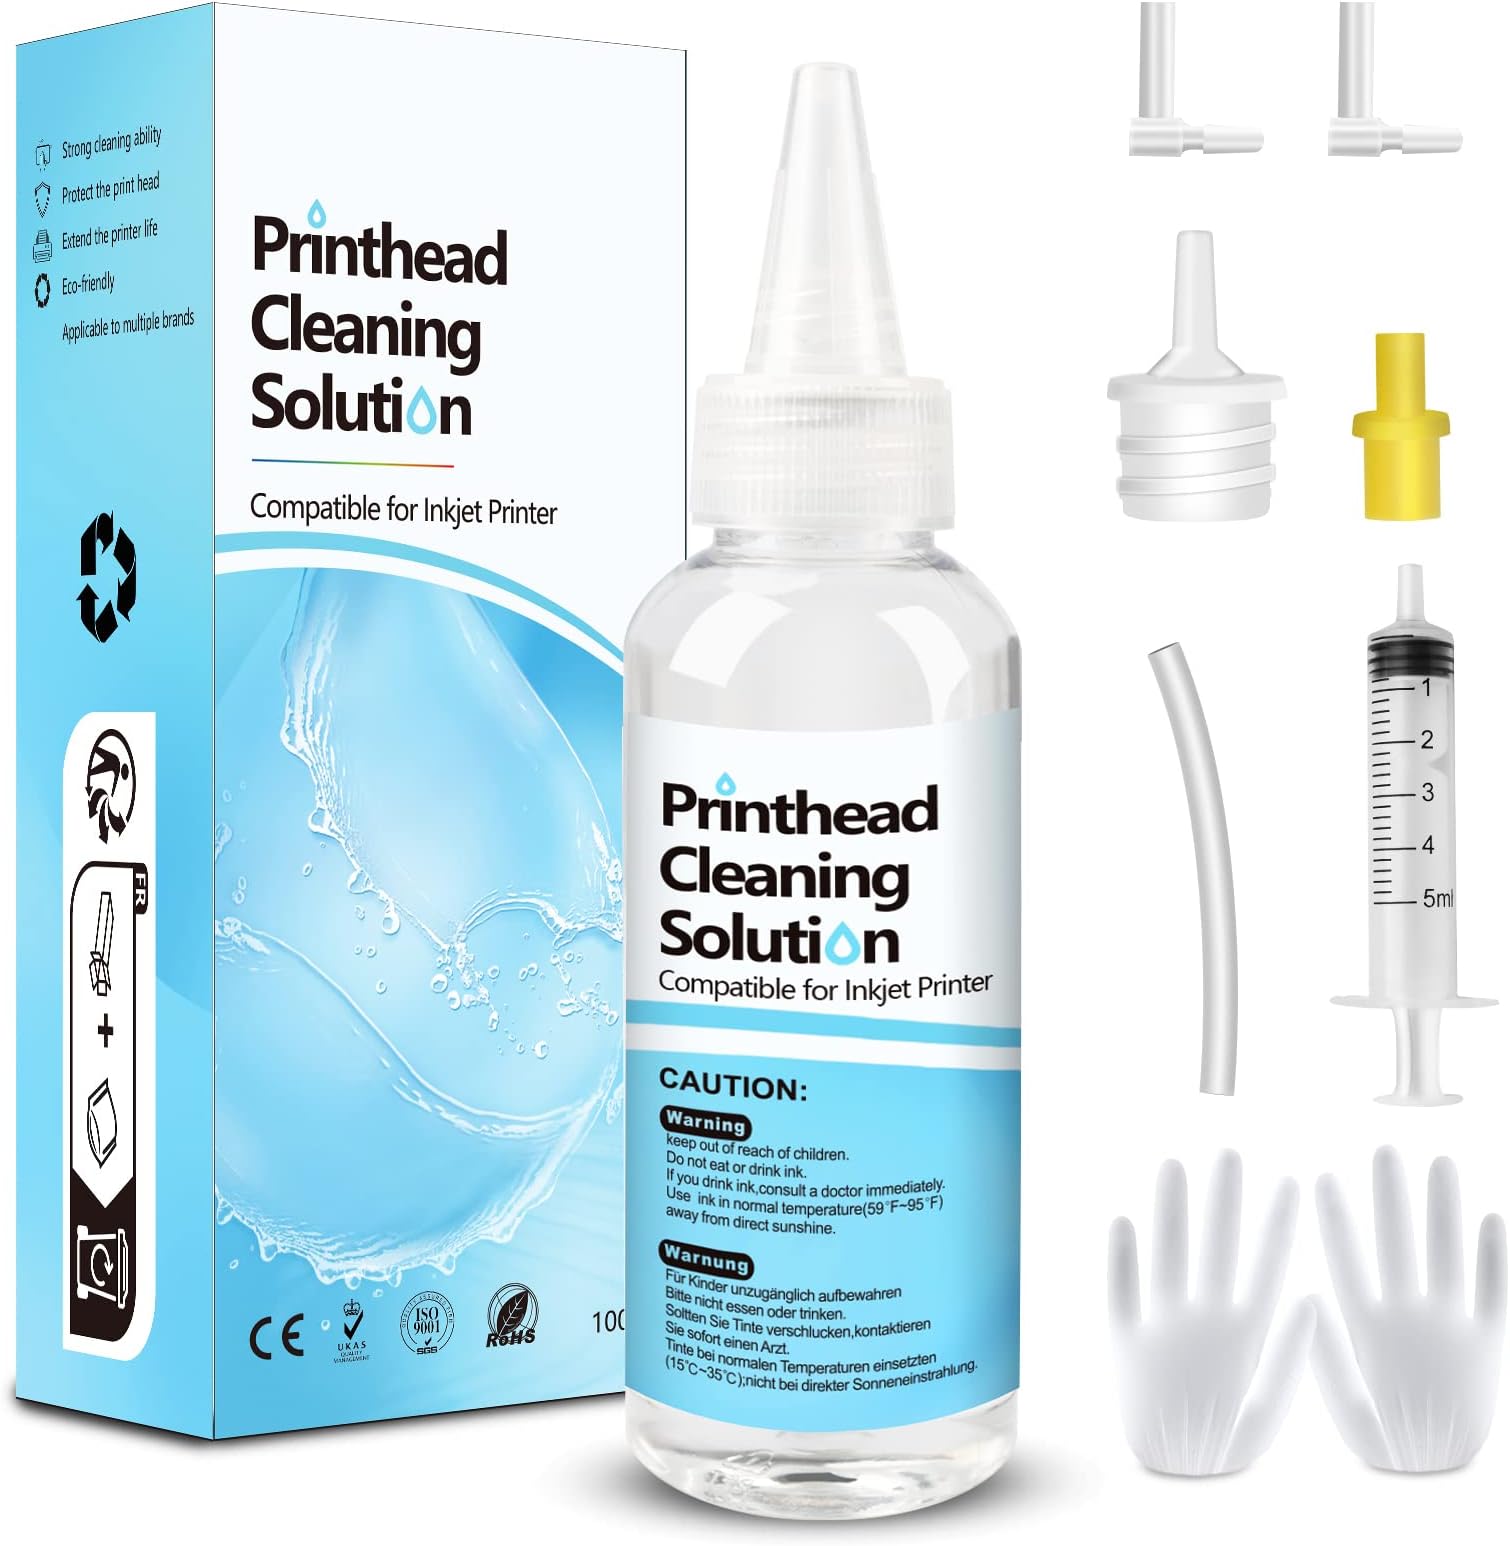
- ALL IN ONE CLEANING KIT - Includes syringe, silicone hoses, stoppers & gloves for a hassle-free maintenance ritual.
- EXTEND PRINTER LIFESPAN - Protects printheads from corrosion and blockages, saving costly replacements.
- UNIVERSAL COMPATIBILITY - Tailored nozzles fit Epson, HP, Canon & more—no leaks, just seamless cleaning.
- REVIVE YOUR PRINTERS PRECISION - Effectively unclogs nozzles for crisp, vibrant prints every time.
The Fosgoit Printhead Cleaning Kit is a professional-grade solution designed to restore and maintain inkjet printer heads across Epson, HP, and Canon models. Featuring a 100mL cleaning fluid that dissolves hardened ink and impurities, the kit includes precision nozzles, syringes, and accessories to ensure leak-free, effective cleaning. Ideal for prolonging printer life and enhancing print quality, this universal kit is a must-have for any millennial professional aiming to keep their workspace efficient and eco-conscious.