Desertcart purchases this item on your behalf and handles shipping, customs, and support to Greece.
🔧 Stick with the best — your mirror’s new BFF for life!
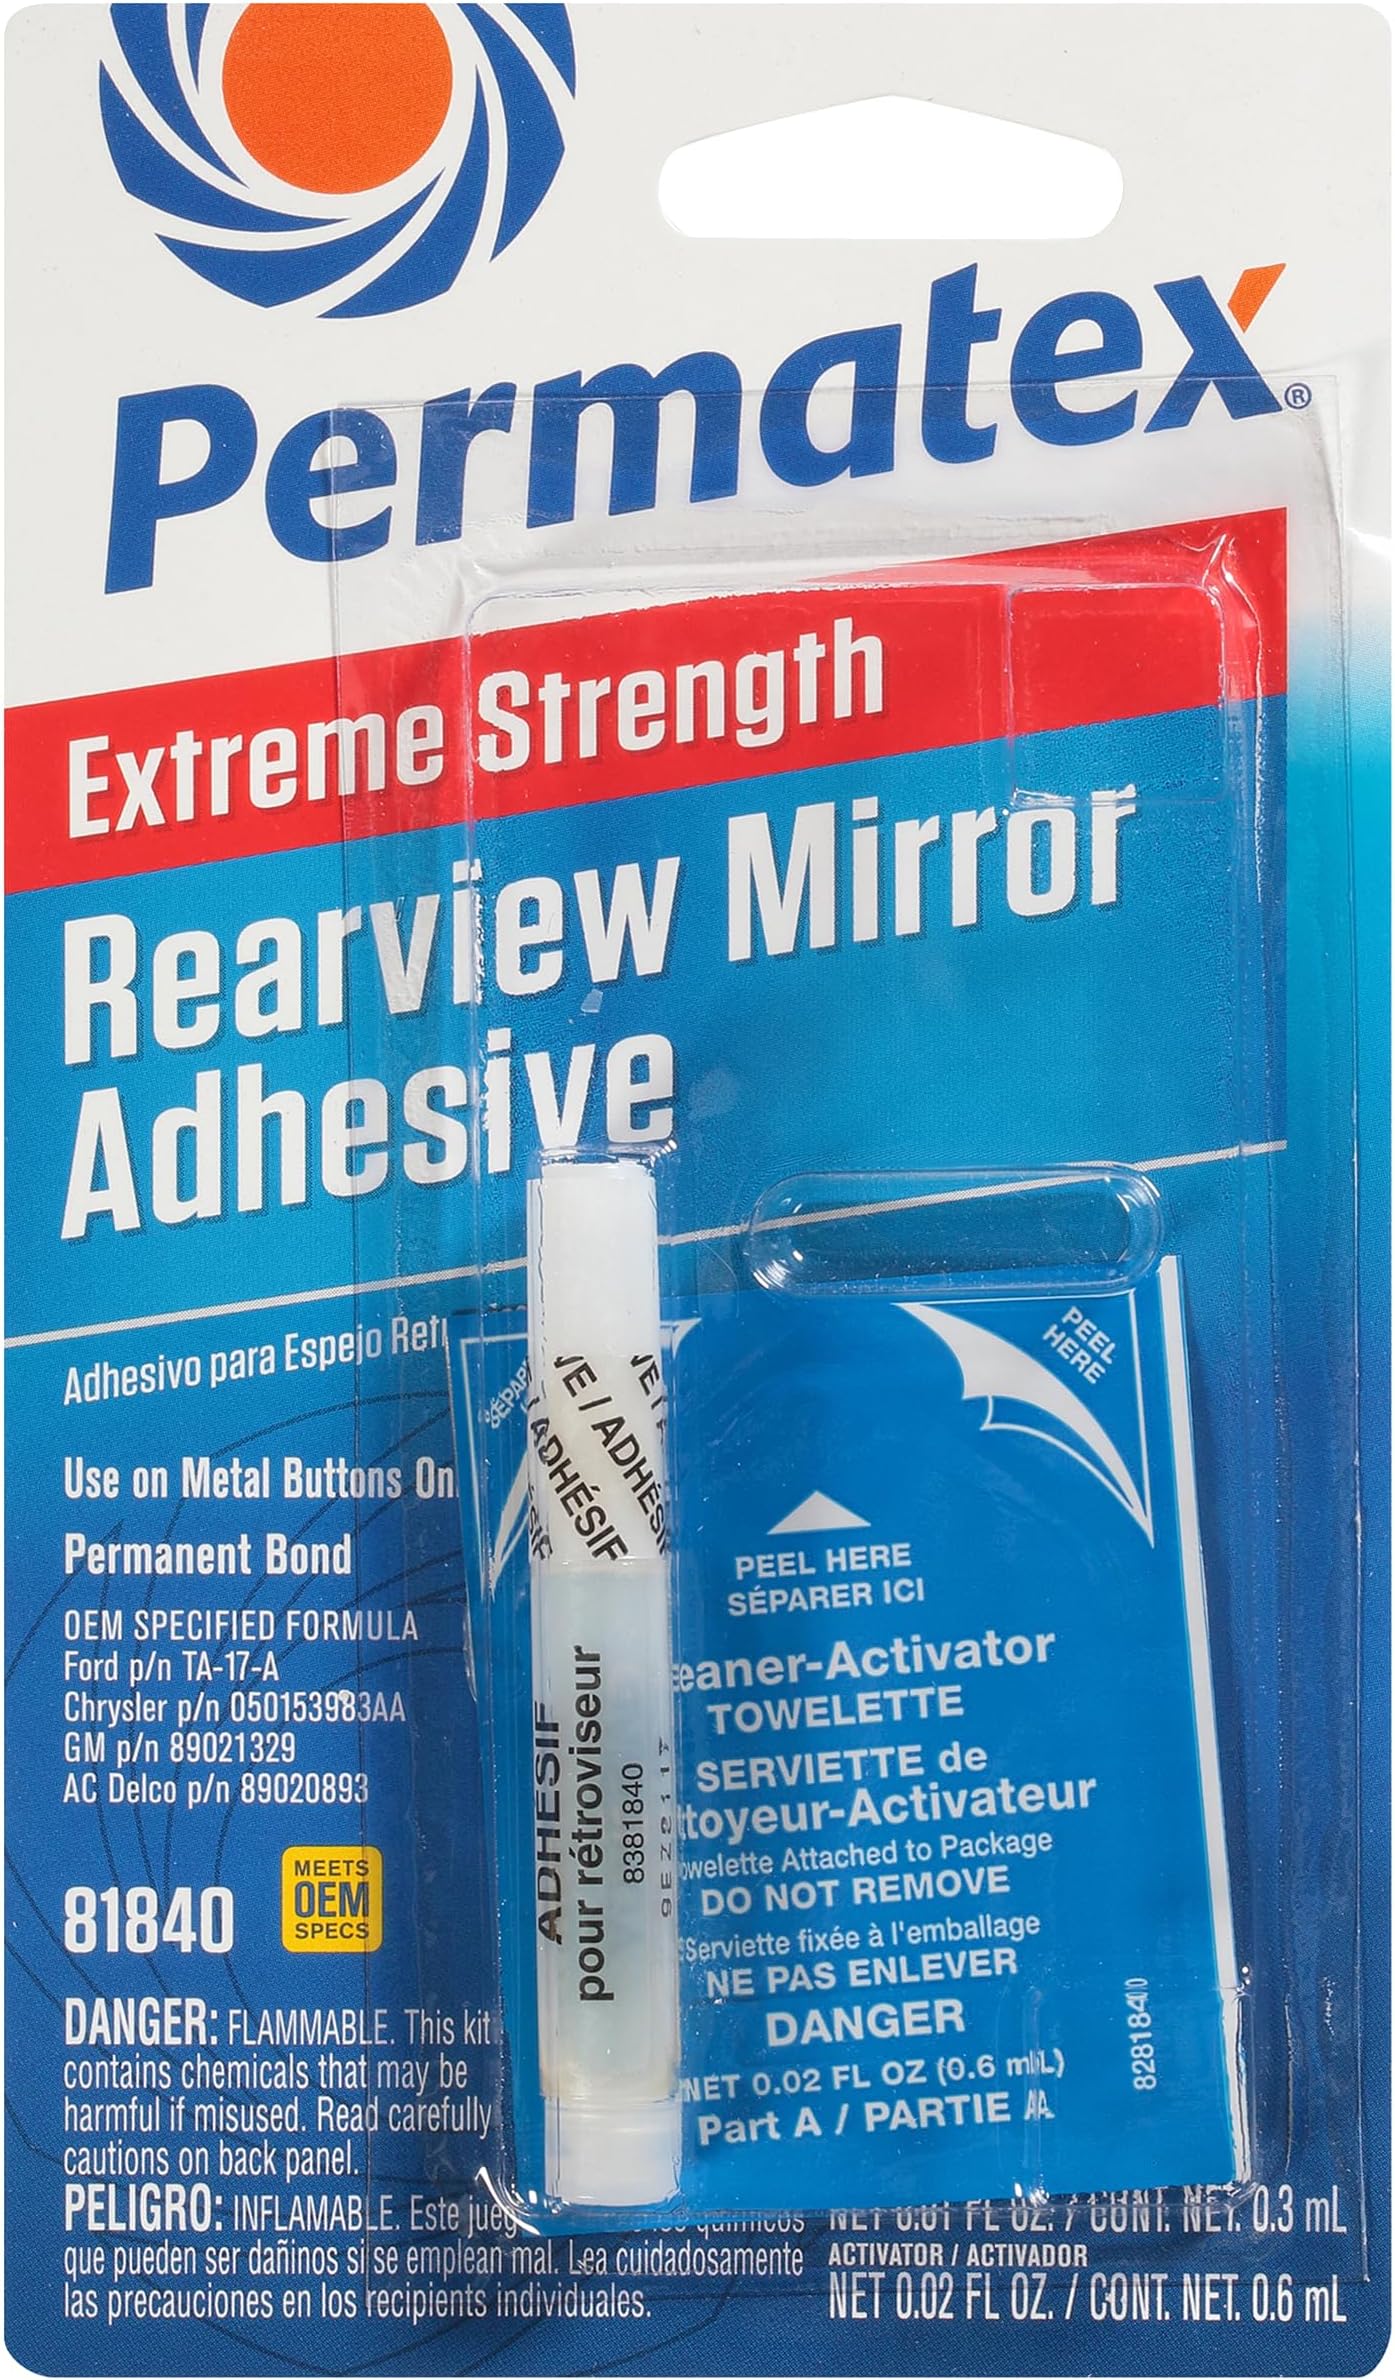
Permatex 81840 Extreme Rearview Mirror Adhesive Kit is a professional-grade, two-part bonding system featuring a medical-grade activator towelette and cyanoacrylate adhesive vial. Engineered to meet OEM specifications, it ensures a precise, mess-free application and a durable, heat-resistant bond that fully cures in 24 hours. Ideal for securely mounting rearview mirrors to windshields, this kit is trusted by both professionals and DIY enthusiasts for reliable, long-lasting results.

| ASIN | B000HBM4TC |
| Best Sellers Rank | #1,275 in Automotive ( See Top 100 in Automotive ) #4 in Body Repair & Restoration Adhesives |
| Brand | Permatex |
| Brand Name | Permatex |
| Color | White |
| Compatible Material | Glass, Metal |
| Container Type | Towelette, Vial |
| Customer Reviews | 4.0 out of 5 stars 5,568 Reviews |
| EU Spare Part Availability Duration | 5 years |
| Full Cure Time | 24 hours |
| Global Trade Identification Number | 00686226818409 |
| Included Components | ITW Permatex - 81840 |
| Item Form | 2 part kit |
| Item Package Quantity | 1 |
| Item Type Name | ITW Permatex - 81840 |
| Item Weight | 13.61 g |
| Manufacturer | Permatex |
| Material | Cyanoacrylate |
| Material Type | Cyanoacrylate |
| Model | 81840 |
| Number of Pieces | 2 |
| Other Special Features of the Product | 2-part adhesive and activator towelette |
| Part Number | 81840 |
| Special Feature | 2-part adhesive and activator towelette |
| Specific Uses For Product | Repair |
| UPC | 686226818409 |
| Viscosity Level | Medium |
| Volume | 0.03 fluid ounces |
| Water Resistance Level | Not Water Resistant |
E**8
Excellent
Going to give the adhesive 5 stars, for now. The mirror mount probably originally fell off because of the hot Kansas temps near 100 melting the glue. We leave the garage doors up during the day and run a huge fan to try and keep garage temps decent. Doing that keeps the temp in garage around 90. Not great; but C'est la vie. Like many others, I usually don't read the directions if the project looks easy and straight forward; which sometimes ends up causing a disaster! I've paid the price many times in the past by not reading directions - but you can't teach an old dog new tricks :}. Before doing anything, I tool a perm marker and drew a line on the exterior glass using the remaining old glue as a guide. I cleaned the interior windshield and mirror mount with a razor blade and alcohol. I purchased a very strong magnet off Amazon and taped it to the exterior of the windshield where the mirror mount will go on the interior glass. Saw this hint somewhere in the feedback; excellent idea; and I thank them for sharing! Anyway, I applied the adhesive, put the mount close to the windshield and the magnet I taped on the outside sucked the mount up tight. Then I decided to do a web search after all that to see how long I had to wait before I could put the mirror back on the mount. Along with that, were the directions, which I read: Clean well, which I did, then sand the mount, which I didn't do, apply the activator on the windshield before gluing the mount to the glass, which I didn't do. Dug the package out of the trash, and there the activator was. Removed the mount, and then did everything according to instructions. There was a slight con: The tube of adhesive either leaked a little, or the activator leaked a little, or there was a hiccup during the manufacturing process, as some of the adhesive was on the adhesive tube container. No big deal, I wiped the tube with alcohol and kept moving forward. Like other DIYers, many of us have used Permatex for projects, and their products are always top quality! I'm leaving this feedback before seeing if the glue actually worked. If it didn't, I'll re-post with related feeback. Best of luck!
B**T
Works but can get messy
Seems to be holding well on my 1973 F250 but there are some things you might ant to know before you start as this is not the first time I have installed a rearview mirror with this product. The instructions on the back are not fully helpful. To mark the spot you want to glue the bracket, I suggest using a wet erase marker (much easier to remove than the recommended crayon) on the outside of the glass. Peel the cleaning packet back on both sides revealing the pad. It is attached to the bottom of the packaging. Use gloves when cleaning the inside of the glass where you have marked. Let it dry for one full minute. Lay a strip of tape (I used painters tape) sticky side up, then place the bracket onto the tape where the side that goes against the glass, also facing up. After you remove the glue cap you will need to cut the end of the pour spout (some glue might come out due to pressure but it won’t stick until it touches the activator from the cleaning pad, so just wipe it off). Only put ONE drop on the bracket, ick up the tape and place the bracket on your mark. The tape will hold it in place without shifting for as long as you need to let the glue cure, add more tape if you feel like you need to. All that is left is mounting the mirror. Hope this helps.
J**R
Gooey pkg did not work
Product was gooey when I opened the package. Followed the instructions to the letter. After 24 hrs, w/device holder paint-taped to windshield for tight drying fit, holder came off with the tape. The glue had not dried and was easily removed w a paper towel. Don’t know if I received a bad batch or the clean mix didn’t gel. Package was all gooey so maybe it had issues to begin with. Wasted money. Won’t buy again.
L**S
works as it should
brand name and so far it has held up, I cleaned and recleaned and recleaned all the glued parts before applying, time will tell if it lasts long time
S**E
Mirror glue that actually holds
I grabbed this Permatex rearview mirror kit after my old Honda’s mirror dropped off in the middle of a deadline run to a client. Tiny tube, but it works. I cleaned the glass, marked my spot with painter’s tape, stuck the metal button back on, then waited it out. Next morning I clicked the mirror on and drove to a meeting over some rough Seattle streets. No wobble, no slipping. I’m a freelance designer so my car is my second office, and having the mirror stay put during a gear run made me pretty glad i didn’t cheap out with random glue. Just follow the timing in the instructions and don’t rush it or u might have to redo it.
J**F
Rearview Mirror Adhesive
Best version I've ever used. This model (81840) chemically has a higher melting point, so sticks better in a hot climate.
C**D
Finally, a rearview mirror adhesive that really holds
I've tried plenty of these with only short-term success, and I'm happy to report that this adhesive has held my mirror for 6+ months now. Instructions are clear and repair is easy. Highly recommend.
B**R
This failed miserably...
Wow, this could be the worst Permatex product I have ever used. I followed the instructions exactly and installed my rear view mirror 48 hours later after gluing the tab to the windshield. I didn't touch it for a month and thought all was good. I just tried to adjust my adjust it the other day and it popped right off with hardly any effort. I was shocked. What a waste of time and money! Not sure what to use now, but it won't be this garbage.
A**A
رسم القطعة من الخارج، تنظيف السطح، ٣٠ثانية محضر، ٣٠ ثانية التثبيت٣٠دقيقة قبل الاستخظام، مراعاة الوجه
ممتاز إذا اتبعت التعليمات قبل كل شي يجب تحديد مكان القطعة المعدنية بقلم من على سطح الزجاج الخارجي كشط بقايا اللاصق القديم بموس حتى يصبح السطح مصقول تماما فتح منديل المحضر الكيميائي ومسح المنطقة جيدا والانتظار لمدة ٦٠ثانية وضع نقطة غراء على السطح المعدني في المنتصف تثبيت القطعة المعدنية لمدة ٦٠ ثانية ثم تركها الانتظار لمدة ٣٠دقيقة قبل تركيب المرآة هذا المنتج غالي السعر لكن نسخة مطورة يتحمل ضرور حرارة أشد من سابقه.
J**Z
Super rápido de secado y eficiente
Pega en menos de 5 segundos, lo mantienes con el dedo 30 segundos mas, y en media hora ya puedes instalar el espejo
O**R
solid metal to glass bond
follow the instructions to the letter and this kit works 100% the oem install adhered for 26 years, I expect no less from this install... :)
H**.
It is strong (for now)
Following the manual and waiting for dry periods of eqch steps,the outcome is great.My mirror in a Chevy Astro van is heavy.The weather....well..Dubai! 42C normally.So...the challenge is on.As the first day,I can say it is snug.After few moments of putting the metal button with the mirror on,I couldn t move it anymore.Left for overnight with some tape on it to release the weight a bit.Today I tested.Boy....it s not going to come off easily.
G**T
Es un engaño
Producto no funciona
Trustpilot
2 weeks ago
1 month ago