Customer Services
Copyright © 2025 Desertcart Holdings Limited


🍨 Turn your KitchenAid into an artisan ice cream studio—because homemade never tasted this exclusive!
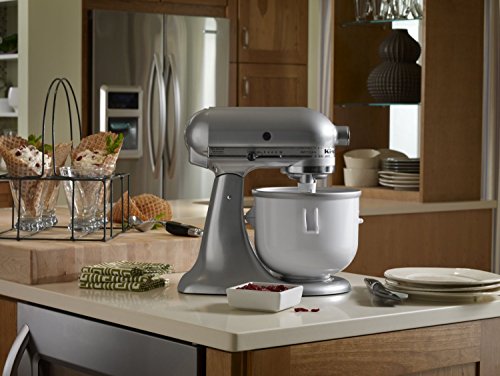
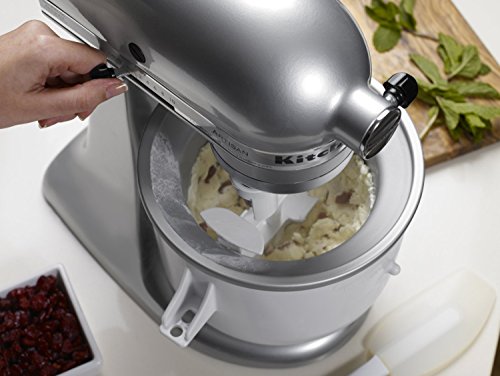
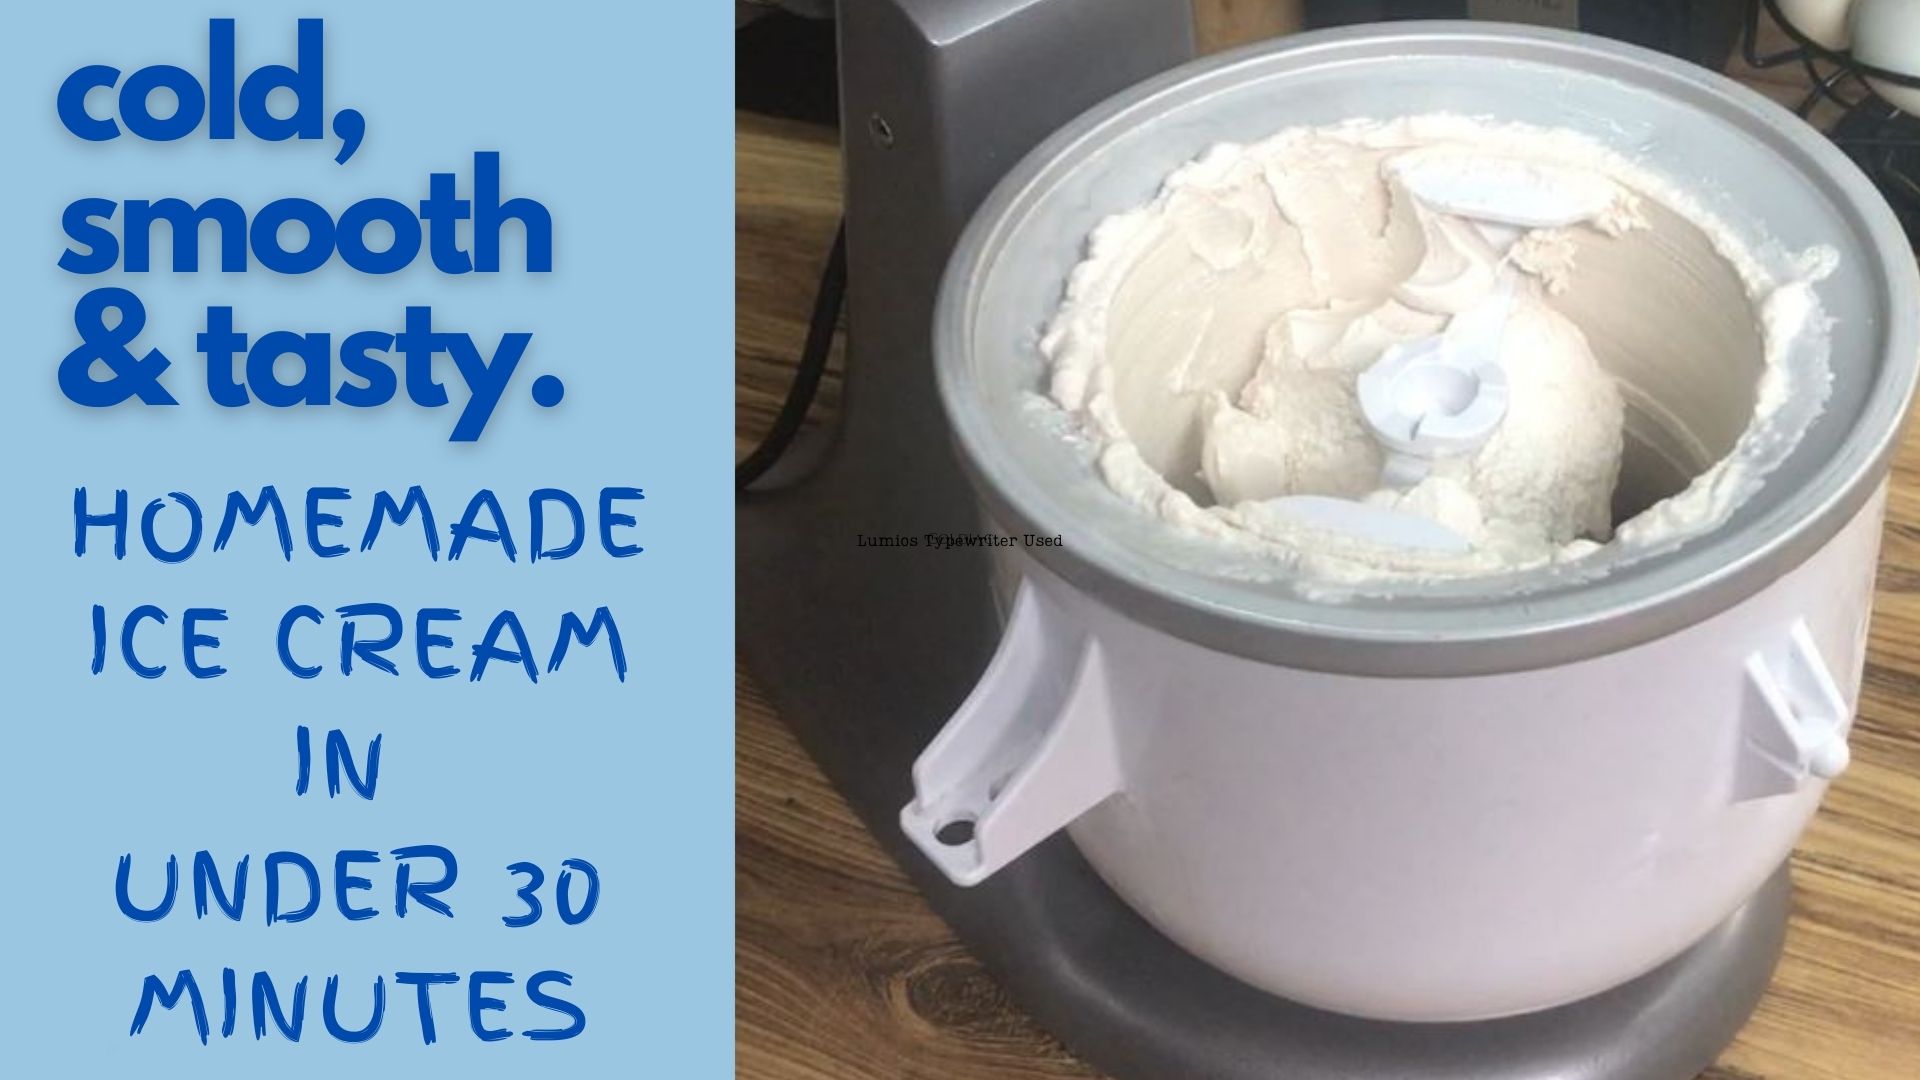
The KitchenAid Ice Cream Maker Attachment transforms your compatible KitchenAid stand mixer into a premium frozen dessert machine, producing up to 2 quarts of ice cream, gelato, or sorbet in 20-30 minutes. Featuring a rotating dasher for thorough mixing and a freezer bowl that must be pre-frozen, this attachment fits all 4.5 quart and larger mixers except Artisan Mini and most 7/8 quart models. Easy to clean and backed by KitchenAid’s trusted engineering, it’s the must-have accessory for millennial professionals craving fresh, customizable frozen treats at home.


| ASIN | B0002IES80 |
| Best Sellers Rank | #335,094 in Home & Kitchen ( See Top 100 in Home & Kitchen ) #584 in Mixer Parts & Accessories |
| Brand | KitchenAid |
| Capacity | 6 Quarts |
| Color | White |
| Customer Reviews | 4.6 4.6 out of 5 stars (7,978) |
| Date First Available | March 4, 2009 |
| Department | Appliances |
| Included Components | 2 |
| Is Discontinued By Manufacturer | No |
| Item Weight | 2.72 pounds |
| Item model number | KICA0WH |
| Manufacturer | KitchenAid |
| Material | Plastic |
| Model Name | ICE CREAM MAKER ATTACH |
| Operation Mode | Automatic |
| Product Care Instructions | Hand Wash |
| Product Dimensions | 10.9 x 10.3 x 10.3 inches |
| Recommended Uses For Product | Residential |
| Special Feature | Manual |
| UPC | 050946960197 761675416786 798527565972 759005320803 087335257163 098017161555 094700911957 064843210170 761675416809 759284292341 704740106304 844819011433 887654254009 091131179727 728295179026 |
L**T
Love ice cream? Have a KitchenAid mixer? This is a must have....
This ice cream maker is a must have for your KitchenAid mixer. It makes a delicious bowl of ice cream, plus KitchenAid has awesome customer service! I bought this ice cream maker because I love a good bowl of homemade ice cream and because I love using my KitchenAid mixer in the kitchen, so it sounded like a perfect combination. The bowl and paddle easily attach to the mixer and it is simple to operate. It is possible to have fresh, homemade ice cream in about 20 minutes with this attachment! It is necessary to have the bowl frozen in your freezer ahead of time (1-2 days) to use this product effectively. I highly recommend keeping it in your freezer at all times so it is ready to go, and because it also helps prevent a leak from the blue ice in the middle of the bowl. My first bowl actually began to leak the blue ice that is in the middle of the bowl to keep it cold. When I contacted KitchenAid, they immediately sent me a new bowl and a prepaid package to mail back the leaking bowl. The customer service representative also recommend string it in the freezer when not in use if possible. I have followed these guidelines since receiving my new bowl and have not had any issues with it arise. The ice cream maker does come with a little booklet of ice cream recipes, but I did not find any of them very good. I have used some Ben & Jerry's recipes and some recipes from other cooking websites and really enjoyed them. While the ice cream is great fresh, if you like a more solid ice cream. I recommend freezing the ice cream after mixing it to allow it to firm up a bit. This especially helps if you freeze the bowl you are going to store the ice cream in ahead of time as well. You really cannot go wrong with this attachment!
T**.
Just finished eating our first batch - Excellent!
My wife and I recently purchased a KitchenAid stand mixer from a well-known warehouse store. Their current model is the KV25M (it says Professional 550 HD on the motor) which appears to have almost identical specs, 575 watts, to the Kitchenaid Pro 600 and is also a bowl-lift model. (Even though it's labeled a "5-1/2 Qt. mixer", the bowl is actually 6 qt.) We've had the Ben & Jerry's Ice Cream & Dessert Book from years but never owned an ice-cream maker. Within a week we decided we had to have the Kitchenaid Ice Cream Maker attachment. I did a lot of research before I actually bought it and was pretty clear on several points: - the bowl has to be solidly frozen in the freezer, preferably for at least 24 hours - the ice cream mixture has to be well-refrigerated, at least 2-8 hours - to keep things as cold as possible, quickly assemble the bowl and dasher attachment, turn on the mixer, and start pouring the refrigerated mixture into the machine After 20-30 minutes you'll have ice cream with a soft-serve consistency. It can be pretty messy getting everything off the the dasher and out of the bowl. It melts really quickly, but it's pretty tasty! It gets even better after it's cured, so the sooner you can get it into the freezer after churning the better. We made "Jerry's Chocolate" from the B&J Ice Cream Book. We left the bowl in the freezer for over 24 hours. We mixed up the custard and refrigerated it overnight. The next afternoon we did the churning, then we each had a small bowl and put the rest in the freezer. The results were...well, first let me finish! There's a video on YouTube [...] that shows how to use the Ice Cream Maker attachment. It's the best one I found and it's a pretty accurate depiction of how everything should be done, but the best part is at the end. In this video the cook scoops the soft-serve ice cream out of the bowl and puts it into a small, flat pan. She covered it with aluminum foil and put it into the freezer. Then she takes it out of the freezer and using an ice-cream scoop, scrapes the scoop along the length of the pan, producing perfect ice cream curls! After some research, I determined that she is probably using a "third size" stainless steel steam pan like this: Excellante Third Size 2-1/2-Inch Deep 24 Gauge Anti Jam Pans . I found that the dimensions were somewhat similar to a standard loaf pan; a little shallower, longer and wider, but pretty close so I used our non-stick bread loaf pan, putting down a layer of pastic wrap right on the surface of the ice cream to prevent icing and then covered the pan with aluminum foil. This worked great! Oh, and the results were FANTASTIC! The chocolate ice cream was creamy and smooth, with a deep chocolate taste. The consistency was just like ice cream should be, not icy, but hard enough to "chew" yet soft enough that it will quickly melt in your mouth. This was our first attempt and it was a resounding success! We're looking forward to many more batches of yummy, creamy, tasty ice cream! And some gelato. And some sorbet.
I**Y
if you want to ENJOY your ice cream guilt free....
What's healthy these days, you ask? I am siding with Weston Price foundation guidelines these days. I bought this because my husband is lactose intolerant. In addition, I'd like to have ice cream made with organic ingredients without high fructose corn syrup and artificial flavors and colorings. I use honey, maple syrup, and rapadura instead of sugar, coconut milk instead of cow's milk/cream when using tropical fruit in my ice cream, and of course, raw milk and raw cream for old fashioned ice cream. The key to getting the ice cream to taste excellent is to use fresh, ripe, preferably farmer's market organic fruit, real vanilla bean not vanilla extract, and top quality chocolate. If you use fruit that is in season, and therefore cheaper than other fruit, this will lower the cost of your ice cream and make up for using other high-end ingredients. To reduce the time involved in making the ice cream: 1. use a food processor to mix everything - puree the fruit, mix in extracts, honey, milk etc. 2. Pass the custard through a mesh sieve before cooling it for finer, smoother consistency. Good chocolate is usually ground much finer than cheap chocolate - this helps with the consistency as well. 3. chill the batter in the fridge overnight - don't skip this important step. 4. For sorbets, frozen berries work great and you don't have to chill the custard first. If anything comes in a box and has nutritional info in the package, I get suspicious these days. I spend too much time at the store reading labels to avoid junk (even health food stores carry ice cream loaded with stuff like GMO soy, soy lecithin, nonfat dehydrated milk etc.). So the time used to make my own with quality ingredients is not that bad considering.... But enough about the ice cream - the kitchenaid ice cream maker has never let me down (i have even made basil ice cream, avocado ice cream, and many other adventurous recipes). It's super easy to use and helps me feel good about the $$$ spent on the kitchenaid mixer. The paddle is a bit of a messy proposition, as others have mentioned, but i plop it on a plate and the ice cream stuck on it becomes my treat of soft serve before anyone else gets a taste.....
T**L
Great product
Makes great ice cream
M**I
Item arrived in good condition and as described. Easy to assemble and attach to my mixer. The ice cream maker works extremely well on the first try so now I will experiment with new recipes. The first batch was 1litre of 2% milk, 6 table spoons of Dutch process cocoa and one half cup of Splenda with 1/4 cup of chopped (or slivered) almonds added in the last 2 minutes. I am diabetic and it's hard to find ice cream that isn't high in sugars and carbs. Making my own ice cream and controlling the ingredients is a great way to enjoy a bit of a treat. I did heat the liquid mixture over medium heat but not to a boil then cooled in fridge over night before using. I then re-mixed the liquid just prior to pouring it into the ice cream maker that had be in the freezer for two days. Obviously with the low fat content of the mix it freezes very hard and is more like ice milk, but the flavour was great. I will try adding a couple of table spoons of alcohol to the next batch to see if it helps with the ice crystals. I'm also trying am Almond "milk" product and with add vanilla extract to see how it turns out. The attachments performs great, all you have to do is follow directions and then experiment with mixtures!
P**D
Product delivered with scratches, traces of usage and a minor damage on a metal part. (cosmetic issues probably a used product) As there is no problem with the functionality, I haven't return it.
V**R
Si tienes una batidora kitchen aid este es un accesorio que vas a gozar un montón, he preparado varias veces helado y a mis hijos les encanta, incluso si no sigues recetas de internet puedes hacer algo delicioso hemos hecho helado hasta con jugos que compramos y queda rico, también hemos hecho helado con leche descremada, vainilla y endulcorante para que sea completamente light y queda muy rico, hacer un helado te lleva como 20 a 25 minutos pero queda muy bien, incluso una vez hicimos demasiado y lo que sobró lo metimos al congelador y al día siguiente estaba rico no se hizo muy duro porque el proceso de helado es muy bueno, creo que hasta para una buena cena puedes impresionar con helado fresco a tus invitados pero recomiendo primero hagas algo en corto, importante a considerar es que debes esperar 16 horas antes de hacer tu primer helado porque debes almacenarlo en el congelador.
N**R
This is a great attachment for making ice cream at home. I have rated it 5 stars simply on the quality of the ice cream the machine produces at the end of the churning process. Sure, you have to freeze the bowl overnight and thoroughly chill the 'batter' but the final churn takes about 20 - 25 mins and the end result is quite divine. I've had great success with the recipes included ( the French vanilla ice cream, pineapple sorbet and mango sorbet are stunning ) and have successfully made 'non-KitchenAid' recipes too ( the coffee ice cream out of 'The Perfect Scoop' book is the best I've ever eaten ). I note other reviews have been poor due to durability issues but I've had my ice cream attachment for 5 months now, used weekly and all is good. I do not wash / submerge the bowl in water at all. After churning, I remove the ice cream and wipe the inside of the bowl with a damp cloth; when the bowl has defrosted ( room temp ) I clean the inside of the bowl with a wet, warm cloth a few times. The outside is wiped with a clean cloth - whole thing takes about 3 mins. A few blogs have advocated this method of cleaning and their ice cream machines are still going strong after 10 years! I hope mine is the same, simply because the ice cream is amazing! Go for it!
M**M
Superó mis expectativas! La calidad es muy buena. La textura del helado es impecable. Funciona muy bien. Super simple. La única observación es que en otros reviews, los usuarios dicen haber recibido en la caja un recetario... a mí no me llegó. Ten en cuenta que necesitas espacio en el freezer para guardarlo. Estoy enamorada de este accesorio. Muy buena compra!
Trustpilot
1 month ago
2 weeks ago