


Buy anything from 5,000+ international stores. One checkout price. No surprise fees. Join 2M+ shoppers on Desertcart.
Desertcart purchases this item on your behalf and handles shipping, customs, and support to Greece.
🏆 Elevate Your Floors, Elevate Your Life!
Rust-Oleum EPOXYSHIELD® Professional Floor Coating is a high-performance epoxy solution designed for garage floors, basements, and workshops. With superior chemical resistance and durability, it covers up to 200 sq ft per gallon and is ready for heavy foot traffic in just 1 day, making it the ideal choice for busy professionals looking to enhance their workspace.


| ASIN | B000KESBL6 |
| ASIN | B000KESBL6 |
| Age Range Description | Adult |
| Brand Name | Rust-Oleum |
| Color | beige |
| Color Code | 000000 |
| Container Type | Gallon |
| Coverage | 300-400 sq ft per kit |
| Customer Reviews | 4.3 4.3 out of 5 stars (146) |
| Customer reviews | 4.3 4.3 out of 5 stars (146) |
| Date First Available | 5 September 2012 |
| Dry Time In Hours | 1 |
| Finish Type | Semi-Gloss |
| Global Trade Identification Number | 00020066159627 |
| Included Components | Painting Supplies;Paint & Stains;household-paint-solvents |
| Is Discontinued By Manufacturer | No |
| Is Waterproof | True |
| Item Form | Liquid |
| Item Type Name | Epoxy shield Esh-06 Professional Solvent Based Floor Coating Kit, Liquid, Dunes Tan, Solvent Like, 263 G/L Voc |
| Item Volume | 1 Gallons |
| Item model number | 238466 |
| Manufacturer | RUST-OLEUM |
| Manufacturer | RUST-OLEUM |
| Model Name | 238466 |
| Model Number | 238466 |
| Paint Type | Epoxy |
| Part Number | 238466 |
| Product Dimensions | 34.59 x 43.82 x 22.23 cm; 4.54 kg |
| Size | Two - 1 Gallon Containers of Epoxy |
| Special Features | Durable |
| Specific Uses For Product | Garage floor coating |
| Surface Recommendation | Floors |
| UPC | 020066159627 |
| Water Resistance Level | Waterproof |
M**N
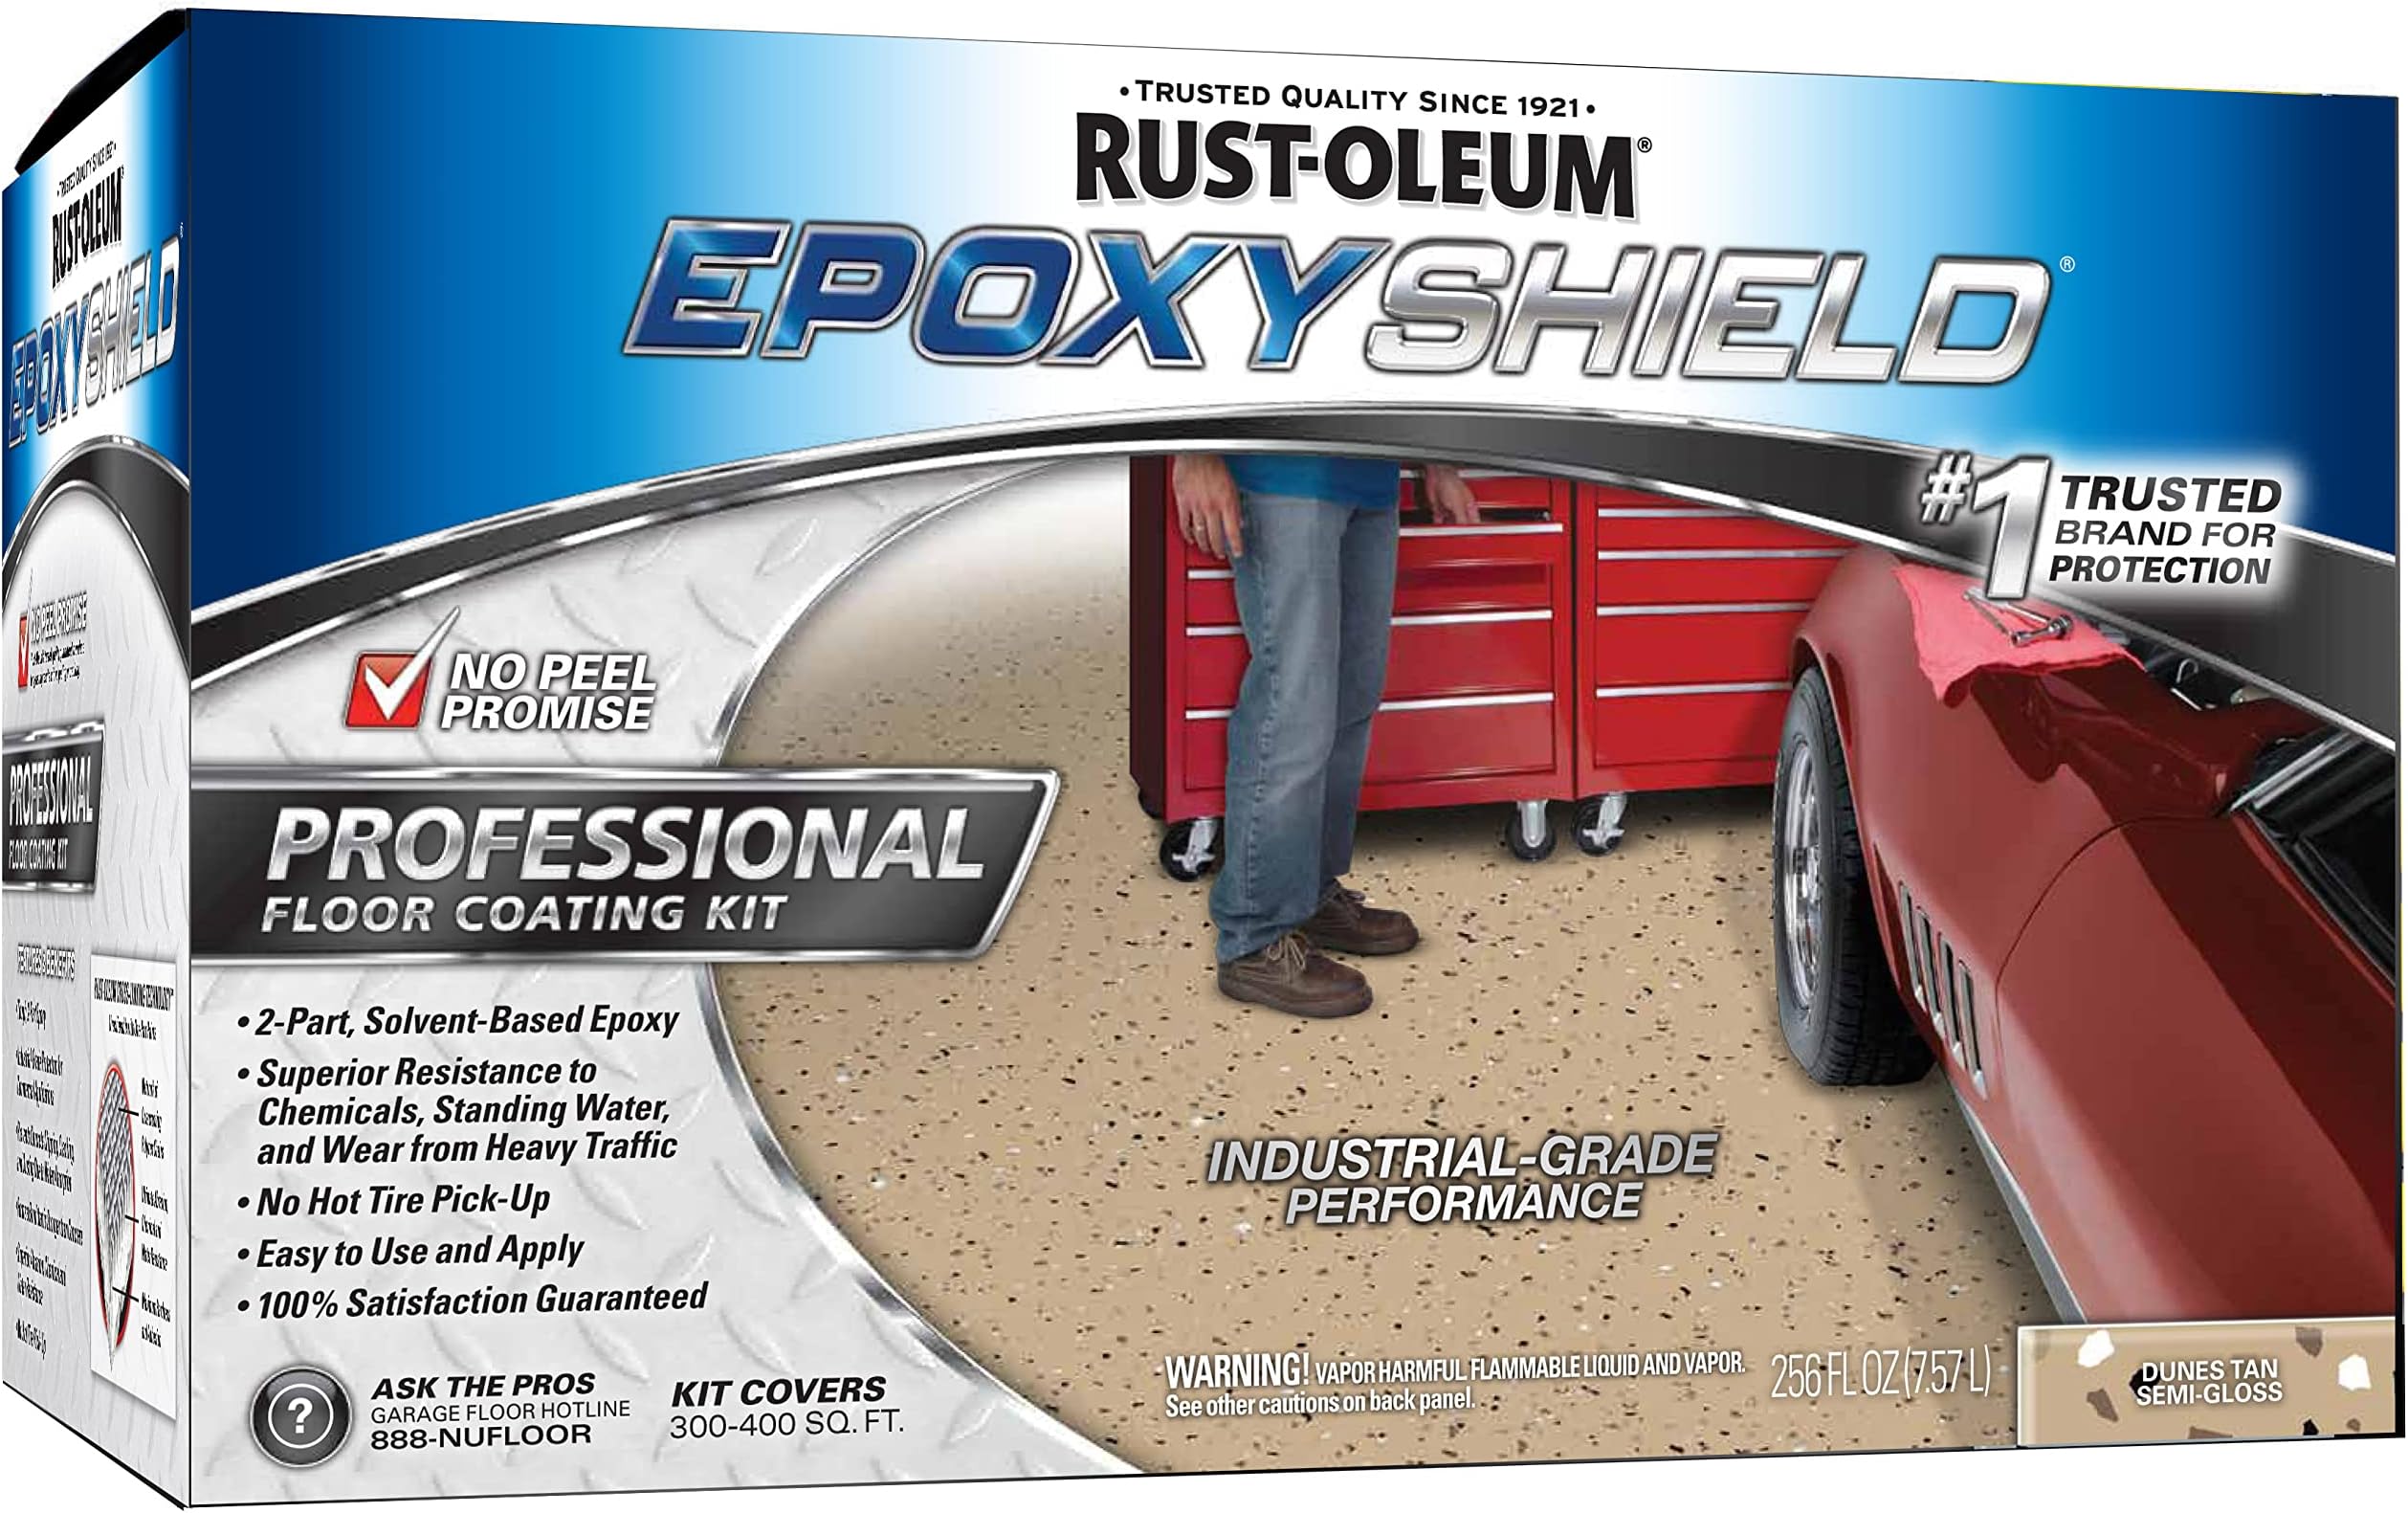
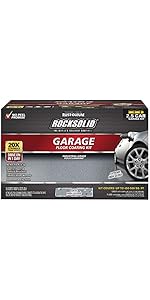
Some people think that just because their garage is dry-walled and insulated it is "finished" - it's not! Most people forget about the floor. Concrete is porous and unless its been epoxied or sealed, it'll absorb almost anything that spills on it: vehicle fluids (motor oil, transmission/differential fluid, etc), lawn fertilizers and pesticides, paints and varnishes, and everything in between. The answer to help combat this stuff from staining your concrete and, in some cases, preventing odors from these chemicals even after they've been cleaned, is to epoxy your garage floor. If prepped and applied correctly, it'll cover the existing eyesores and smell and will make your garage look good as new! I've lost count of how many times I've applied this product for myself (in three different houses and two barns) and for friends and family. When I epoxied my first house, I used Rust-Oleum 251965 Garage Floor Kit but found that even after I had prepped the floor properly, I would have chipping and hot-tire lift. I was able to remove most of it and used this professional grade floor kit and fond it to be the best! Ever since then, I've been using it with great results. Some people might be turned off about the amount of work and time that is involved. Make no mistake about it! Depending on the size of the floor you are doing and how dirty is was previously, it take A LOT OF TIME and some elbow grease (this has allowed me to make a part-time business out of applying this stuff). You also need decent weather conditions (70°+ and no rain for two days) for the best application. Also, make sure you have plenty of epoxy. If you are remotely close to 300 sq ft per kit, I recommend getting another kit - it is better to have too much than to run short! When you are starting to apply you have no way of knowing how much you'll have left. But as long as you don't slop it on there or have excessively porous or rough concrete, you should be in great shape! To make it easy, you'll need the following: Garage floor Decent weather (70°F+ and no rain for a few days) Rust-Oleum 238466 Professional Floor Coating Kit (one kit for each ~300 sq ft) Rust-Oleum 214382 EPOXYShield Heavy-Duty Degreaser, 32-Ounce (one bottle should do unless you have a lot of oil spillage) Rust-Oleum 238475 EPOXYShield Concrete Etch (one package for each ~250 sq ft) (2) 5-gallon pails Paint brushes Paint roller tray (a good metal one - not a cheap plastic one) 3/8" nap roller w/ paint roller and extension stick (so you aren't bending over) Stiff-bristle brush Paint stir sticks or power stirrer Cardboard, carpet reminant, or whatever to catch spills/drops and from tracking the stuff around if you are sloppy Hose with sprayer Squeegee The first step is to remove everything from the floor. This can take time and can be a pain since some items can be heavy and cumbersome to move. But don't complain - I can't stress how much it'll be worth it in the end. When I've moved items out of the garage, I usually just place them about 10 feet or so away from the garage door in the driveway and put a tarp over the belongings (keeps the rain off the material and keeps the riffraff from seeing what you have out there). Second step is to degrease. If you have a brand new garage floor, which most people don't, you'll likely need this step. This help remove all of the oils, grease, and some chemicals from the surface so the epoxy bonds properly to the concrete. I've used Rust-Oleum 214382 EPOXYShield Heavy-Duty Degreaser, 32-Ounce straight out of the bottle (don't dilute) for the areas where the oils and grease are. Make sure to use a stiff-bristle brush. You'll notice that the stain may not disappear because it has soaked down into the concrete but that the surface contamination is gone - this is the point! Make sure to use plenty of water when washing this stuff out of the garage, especially when using at 100% concentrate. Squeegee after rinsing. Immediately after degreasing (if applicable), you'll prepare to etch. A good etch without using muriatic acid is Rust-Oleum 238475 EPOXYShield Concrete Etch . You'll mix it in a 5-gallon pail and then should use a watering can to distribute it on the concrete. You'll hear fizzing sound (which means its working!); after few minutes, scrub with a stiff-bristle brush again and then rinse and squeegee. Let sit overnight or a few hours in the day to dry. Finally, after all that prep work, you are ready to apply the product! You'll want to have a "helper" if you are doing more than a 2 car garage - it'll help keep the application time down and give someone to help you edge (paint the concrete reveals [if you have them]), get the relief cracks and where the roller can't get to. You'll want a small, plastic paint bucket and a decent brush for this. If you are using more than one kit (in the case of anything larger than a 1 car garage), you'll want to mix the "Part B's" in a 5-gallon bucket to ensure the color is consistent across the garage. This instructions state this. Once you've done that, you'll dump the Part B's back into the can (with the exception of the last can - you'll just start and will add "Part A" and mix in the 5 gallon bucket [along with each subsequent kit]). Make sure to mix well with a pain stick with vigorous stirring or use a power stirrer. You'll then have a 30-60 minute break while the materials activate. You can always start a tad early by starting the edging and painting where the roller can't get to. Once your wait time is up and you've edged, start applying the epoxy via roller. I typically do 4' x 10' sections at a time so I can throw the flake on and keep a good rhythm. One thing about flake - use as much as you want but don't use too much. I also highly recommend that you use some, even if you don't want to, since it'll help disguise dirt, grime, and eventual sun fade and shadows from where your stuff was (if you leave your garage doors open to the sun a lot). After application, you'll need to wait at least 24 hours to walk on it and a few days (3-4) to start putting your stuff back into the garage, including vehicles. After all this time and work, you'll have a garage (floor) that everyone will envy! I still get compliments on ours, even by family that have seen the finished product.
R**E
Preparation is the key. I recommend using the Rust Oleum etching powder. It does not gas off like miratic acid or eat holes in clothing. I found getting an even coating of chips to be the most difficult part of the process. The chips supplied are not enough for a proper coating. I recommend 3 to 5 more bags per kit. I also recommend the Valspar flakes over the Rust Oleum. They are bigger and look better. The Rust Oleum flakes end up looking like ground pepper. Throw the flakes high and let them drift down to get the best dispersement. One way I found works well is to blow them out of a container with a blower or vacuum cleaner hose hooked to the exhaust side. Update; this did not hold up. After 3 to 4 years it started to chip and flake off in chunks. It also started yellowing where there was some sun exposer. I had to have it all ground off and redone by a professional applicator at a significant expense. This is one case where DIY did not pay off and was actually more expensive in the long run. I believe the failure was ultimately due to inadequate etching of the bare concrete. Citrus based enchant is just not strong enough to get a good bonding surface. I think I would have been better off using muratic acid which is awful to work with. The pros use diamond grinders to prep the concrete and that’s hard for the DIYer to compete with.
C**0
I did a HUGE amount of research before choosing the Rustoleum line of products to coat my garage floor. One very important thing to make sure of is to order this "professional" floor kit and not the other one. It must say 'professional'. My house is 15 years old and had many oil and paint stains from previous owners. I have always wanted to have my garage floor done so I decided to do it in this house. (Note: I painted my floor when temps were in the high 60's Charlotte NC in October). I ordered this kit and my mom and I tackled the project in about a week. I pressure washed the floor, used 2 different brands of degreaser and an etcher and filled in the cracks in the concrete (the cracks did not show as a matte appearance after I painted like some reviews state) before even thinking about painting. The squeegee I bought was a life saver even though it kept falling off the stick I was using (buy one that screws on maybe). When the floor was finally up to my standards we followed the directions to a "T" (I also watched about 10 youtube videos.) My mom was not excited whatsoever to do this project. She did not see the point of painting a garage floor. Once we started rolling the paint however her whole attitude changed and she was in love. I went with Dunes tan even though I am more of a gray person because it matches the brick colonial traditional style of the home better. Anyways, back to painting. This paint is THICK. I did the cutting and my mom did the rolling because I thought it would be easier on her back that way. We switched quarter of the way thru however and jeez what an arm workout both stages are (cutting and rolling). You really have one shot to do this so it is so important to take your time and get even coverage. We did a section per instructions, stopped and I would throw the chips up in the air because I am a perfectionist and wanted perfect chip coverage as well. (Note: I ordered a LOT of extra chips because my husband has bad knees and I wanted the floor to be as safe as possible). My mom saw how much 'fun' I was having throwing the chips and asked to try. I reluctantly handed her the bowl. Her first throw into the air the chips came crashing down into this ugly, hugely noticeable blob of chips. My heart stopped. My perfect pattern was ruined! But I say this because here is a tip: if this happens you can paint over the bad spot while it is all still wet. Yes, you will get an extra texturized spot and the chips will stick to the roller but it will come out just fine. But I didn't know you could do this and so just decided to up the amount of chips I was using to blend in with the bad spot. Continuing on we got one full side of the garage done before starting the other side. I went to reach in for more chips and THEY WERE GONE. I was only halfway done with the garage so I made a panic run to home depot where the angels had dropped off more chips (I didn't think they would be in stock!) I bought up 8 more bags of chips and flew back home. Backing up a bit I had filled in the cracks around the garage with quick-crete, painted my bricks to make them spider web proof, and also used a special ($8 per tube and i needed 6 tubes so expensive!) tube of self-leveling caulk for the gap in between the 2 slabs in my 2 car garage. The caulk is worth getting rid of that dirt catching rut in between the concrete! This had completely dried before we started painting. We finished painting the rest of the garage with no issues and let it dry for 72 hours. After that time period we rolled on the high gloss top coat which is not necessary but again with safety and slipping I deemed it worth the extra money and effort. The high gloss coat was really hard to get even and I was constantly on my hands and knees trying to change the light cast to see if we had missed any spots. I added all of the anti skid sand as well and the end result is stunning. It is a showroom floor that you would find in a car museum. I love my garage floor and people gasp every time they see it. About parking cars and people having issues with hot tire peel. I did not allow a single tire to touch my floor for 3 months. I finally let my husband start parking his 2 door small car in the garage just about a week ago since it is getting colder and I don't want him to slip outside or have to scrape ice of his window every morning) and so far there has been no issues with peeling. However with bringing a rainy wet car into the garage this created a huge problem. My father in law was walking through the garage in leather corporate type work shoes and went flying across the floor from a tire puddle like it was an ice rink. Luckily he is a ninja so he did not fall on his butt but stayed mostly upright during his journey. (which happened in slow motion and was hilarious). So much for all of my extra steps in making it skid proof. I have never slipped with shoes on or barefoot but I guess it just depends on the type of shoe. Overall I love this floor! See attached photos of the process!
B**B
New house, decided to epoxy the floor before parking my car in the garage. 11' x 19' = 209 sqft garage, and I also painted the sides and top of the concrete along the edges. The marketing boasts 300-400sqft coverage. I ended up with ~1/2 gallon of epoxy left over. I was trying to lay the epoxy on relatively thick, so the coverage is probably closer to 150 sqft/gallon if you're trying to estimate your own job. Paint application is fairly painless. The biggest time eater was painting the vertical sides and top of the concrete along the edges. The floor of my garage is fairly smooth and flat, but the sides and top on the edges is very rough. It took a good glob of epoxy on the brush to get it to cover to my satisfaction. When I started rolling out the epoxy, I ended up doing a 4'x11' strip from one side to the other before spreading paint chips. I was also reloading the roller approximately every two roller widths (9" roller). I would lay down two widths with a reloaded roller and roll back into the last strip before reloading again. When I got to the end, I did the W & M pattern all the way across from before the paint chips. I was slightly worried about pot life as I was painting the sides, but I think it turned out to be a non-issue. Weather was ~ 78degF, 65% relative humidity when I started at about 7pm. Total application time was about 2 hours, ~65% of the time was spent painting the vertical sides and top along edges. Regarding fumes and the solvent: it smells like spray paint. Fumes weren't a big issue when I started and it was all in the bucket. They also didn't bother me while I was painting the sides and edges. However, once I started to roll out the major surface area, the fumes definitely got pretty thick. I had a light headache by the time I was finished rolling, but it cleared up fairly fast after stepping away for some fresh air and water. The kit comes with 2 bags of paint chips. I probably could have made do with 1 bag, even with a good amount of wastage from dropping a bunch. I didn't go too heavy on the application. I ended up using about half the 2nd bag, just because I had it. I did the "toss a handful up against the ceiling" method. It seemed to work alright, still some light and heavy patches if you're looking for them, but I'm pretty satisfied with the spread. I've always been told, and held the belief, that there are 3 keys to a good paint job: surface prep, surface prep, and surface prep. I first power washed everything and used the power washer to blast away globs of construction adhesive the builders left. Then I ended up using two bottles of the Rustoleum Clean and Etch solution. I initially bought one at the Homeless Despot, but I felt like I only got a good etch on ~75% of the floor before running out, so I bought another bottle and started from the other end the 2nd time. Power washed the whole floor twice afterwards. I was using a shop vac with the squeegee type head to suck up the water and crud after each etching and washing. I ended up buying two kits of the Rustoleum Concrete Patch and Repair, also at the Homeless Despot, to fill in the cracks along the edges between the garage slab and the house foundation slab. I also used it to fill in the control joint that ran the width of the garage in the middle. This was also a very time consuming process. I had to make two passes as the epoxy patch and repair would sink down into the crack. I think it's worth it though, since the inside corner along the edges of the slab now look very clean. I tried to fill in any big holes and cracks along the sides too. There were some big ridges left by the concrete forms, and I used the patch and repair to "feather" the sides so it wasn't just a big ridge. I used 60 grit sandpaper to knock down the high spots left in the epoxy before painting. I plan on adding the Rustoleum Epoxy Shield Premium Series Clear Floor Coating Kit, tonight or tomorrow night. Instruction say to apply at least 18 hours , and at most 5 days, after initial floor painting. Total spend was about $300. $115 for this kit, $90 for the clear coat kit, rest for the patch and repair kits, clean and etch solution, and miscellaneous accessories. If I remember to, I'll try to update this in a year or two with how it's holding up.
S**Z
Always get four to five years from this product, depending on salt from vehicle during winter
Trustpilot
1 week ago
3 days ago