

T**S
Great product - Patience required
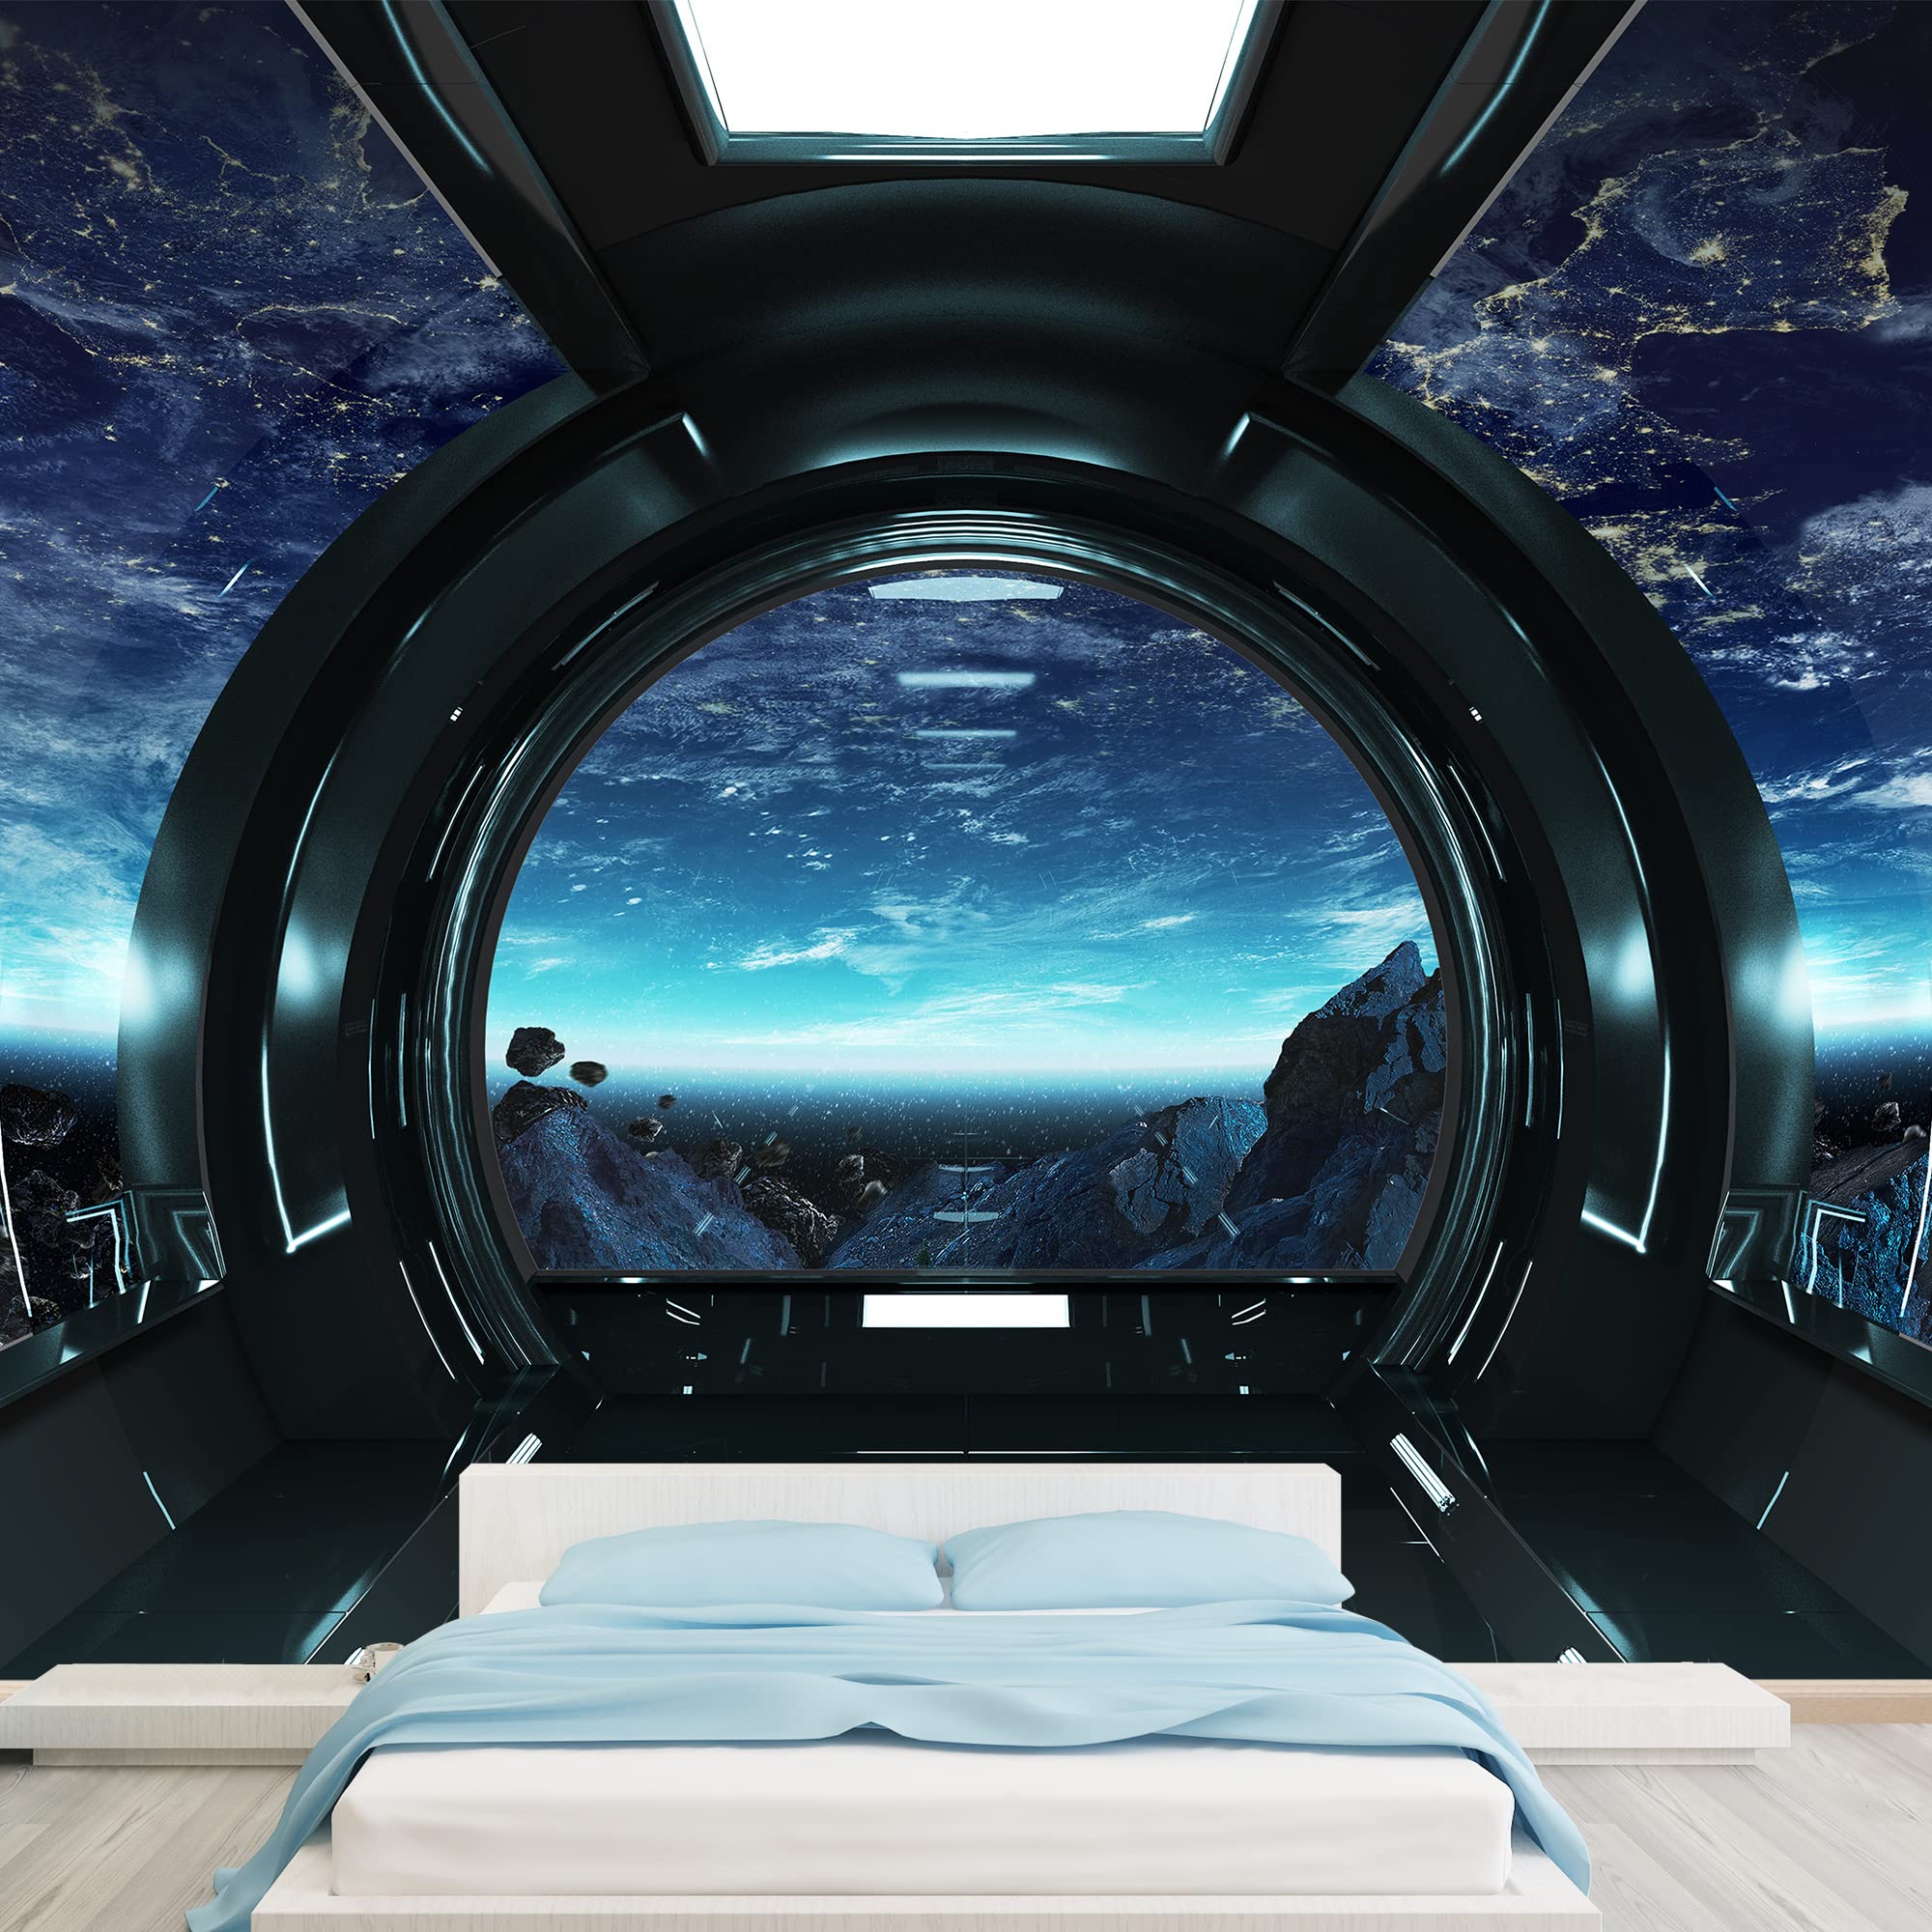
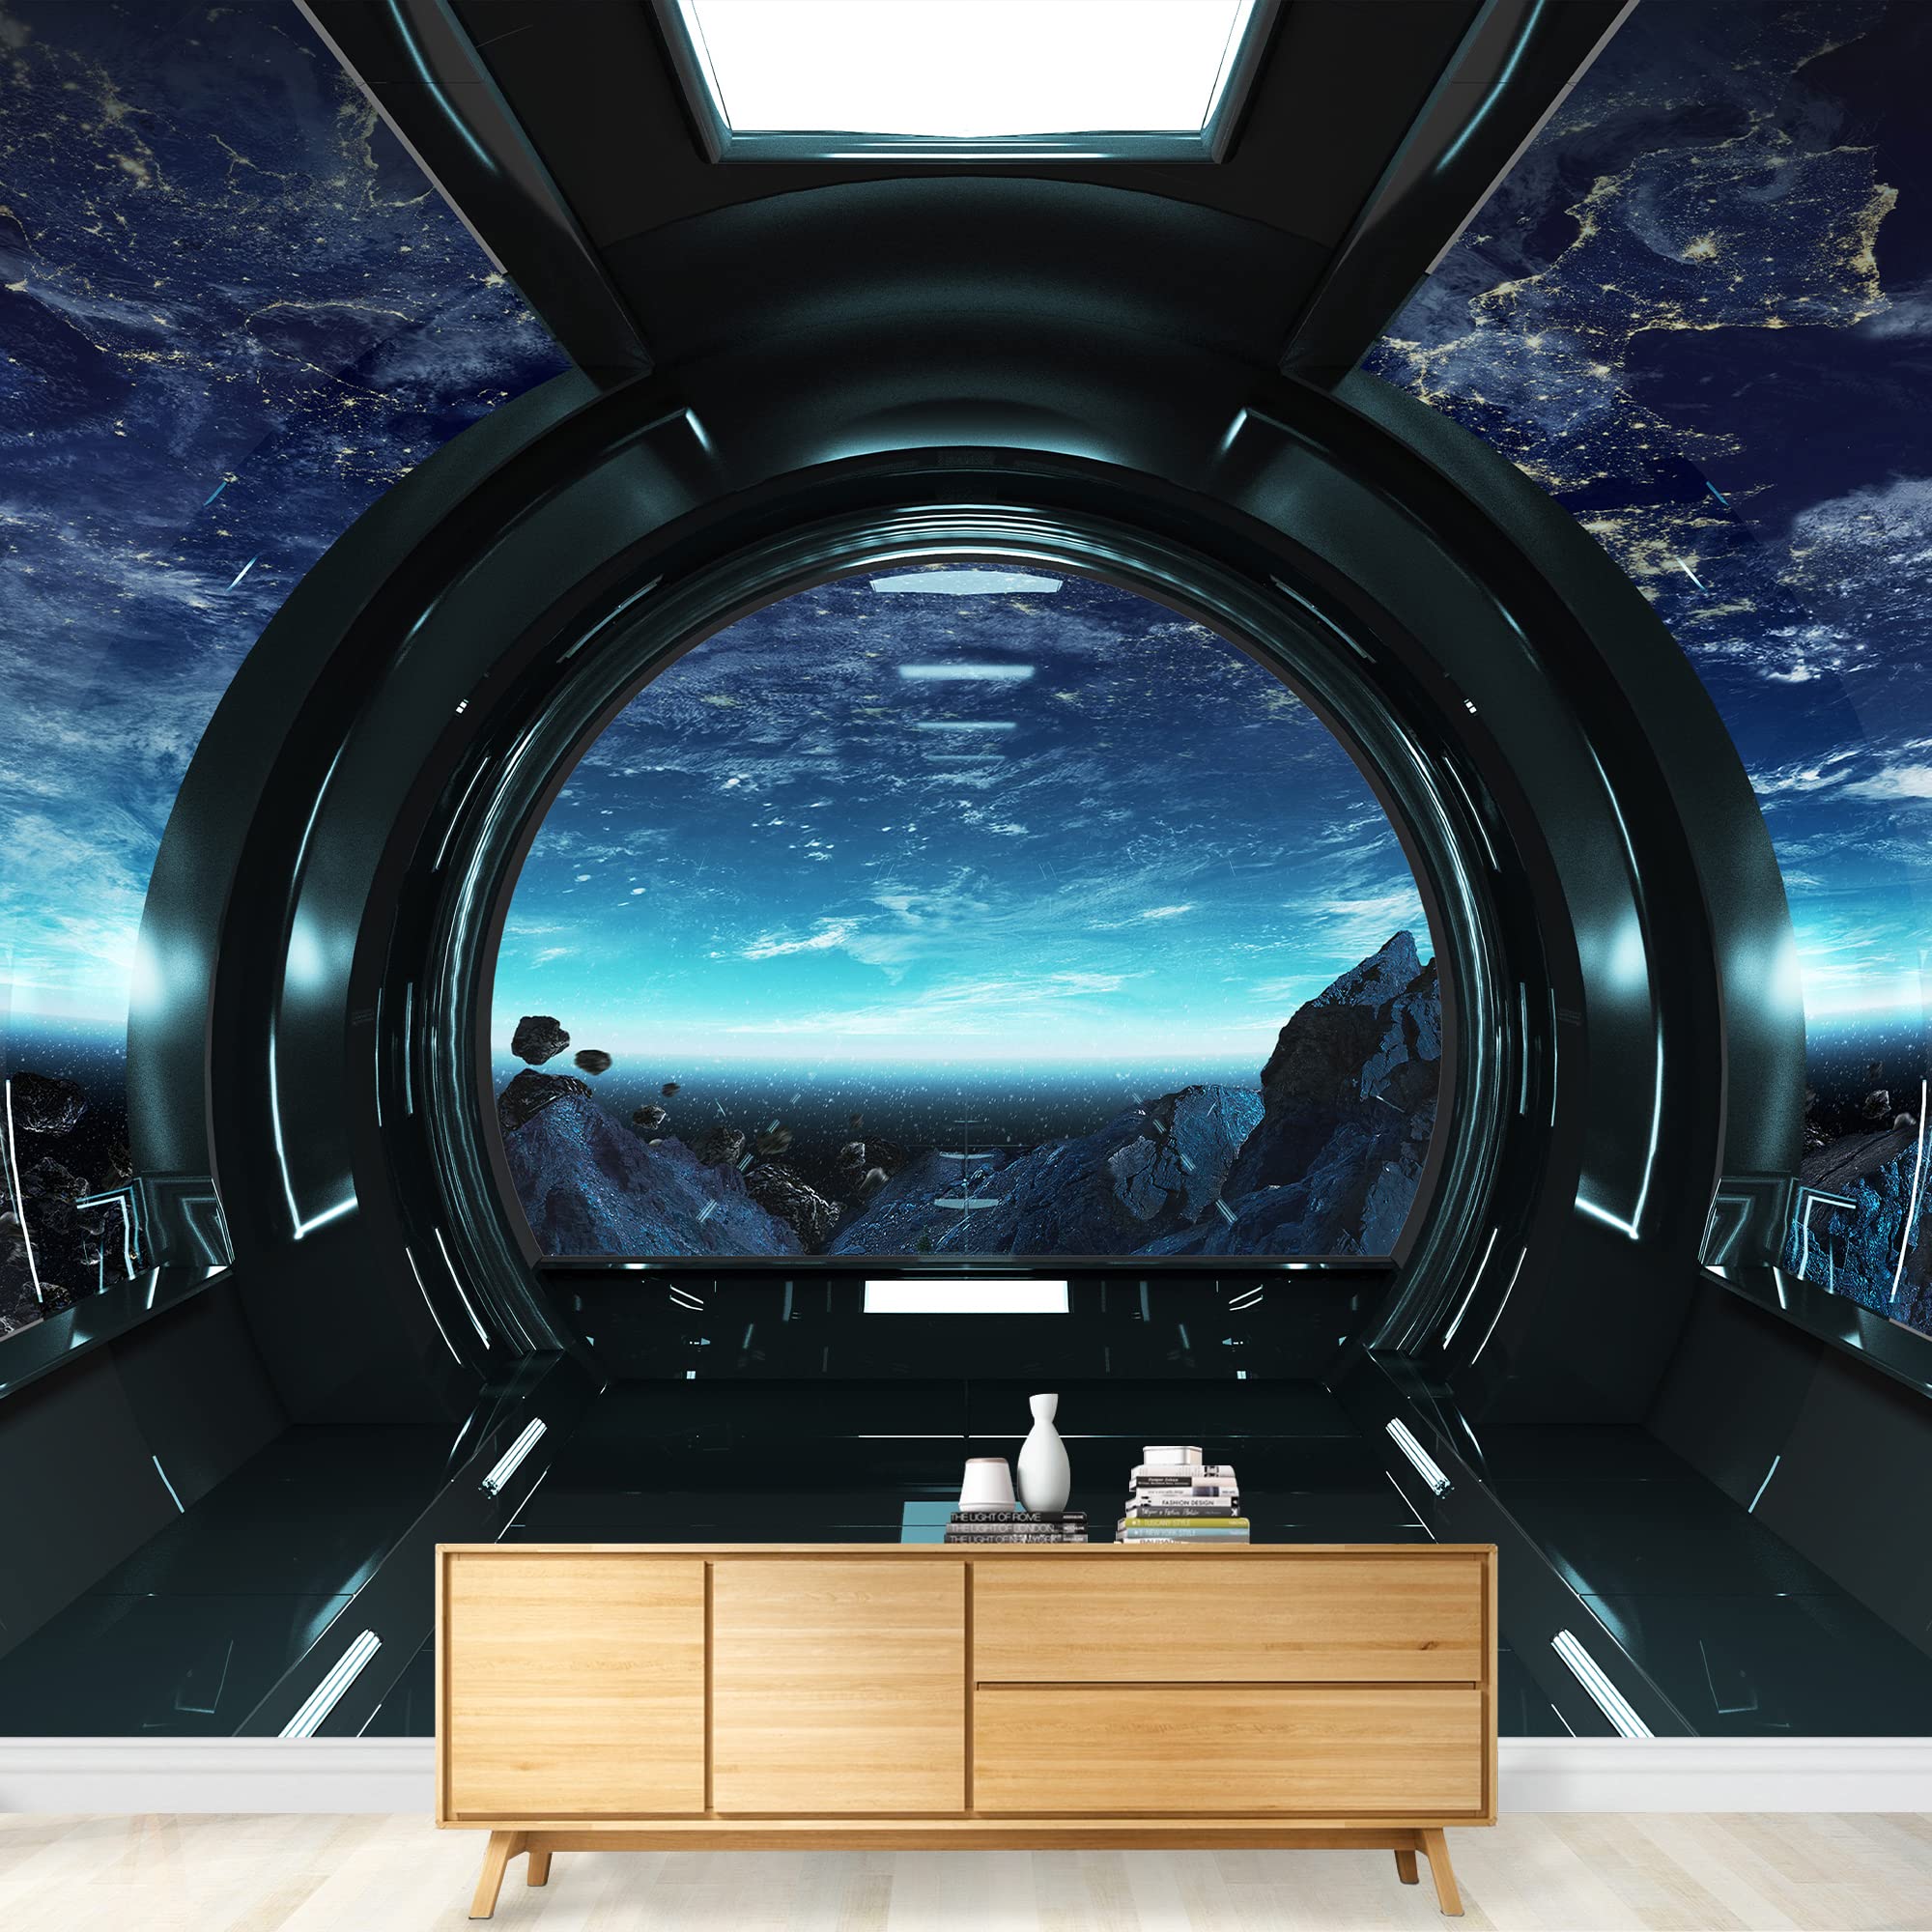
The media could not be loaded. The product is great. Very high detail and it has several details in each panel edge which allow for good alignment help. The installation was difficult as a result of the panels being so large and the picture being so detailed, however, it turns out really cool when complete. Overall I averaged about 30 min. Per panel and there are six in total. I split this between two evenings to avoid frustration.Tools nice to have: I used a laser level which really helped keep my edges true, it's not necessary but it is helpful. A 3'+ level with some blue tape would achieve the same results.Tools must:Small LadderRazor blade for bottom trimDry small towels or washclothLevelPatience ... lots of patience 🙏Hanging the panel:The trick is to keep the sticker liner on while you hang this from the top. Pull back the sticker liner about 20" from the top, hang it in alignment with the panel to the left or the left wall edge, then start dry fitting the panel and aligning the details so you have an understanding of where it needs to sit before sticking it to the wall.Ironing out wrinkles and bubbles - the best way to adhere this evenly is to start with the overlapped details aligned (left side each time), the use a dry towel and wipe it at a 45 degree angle while you hold the right side away from the wall. This allows the panel to have a leading edge which is tight and keeps lines and bubbles from being stuck in place.Watch outs-The bubbles will often be able to be pushed out of the panel, gently rub then toward the closest exitYou won't be able to get it perfect. Irregularities in the wall, stretch in the panel and horizontal squirm between the panels causes issues. I tried to get it as close as possible on key observable items (large black areas can hide some misalignment).It's easy to have the sticky panels stick to itself, this is bad and should be avoided. I did it once and realized I didn't like separating them so made sure I watched that closely going forward.You may need to stick and remove several times, I found this easy to do with a slow process.It's easiest when everything is aligned to spread from the middle of the panel outward at a 45 degree in each direction. This may not be possible if alignment of the details is difficult.
R**H
Turned amazing
Easier than normal wallpaper. I cleaned the wall with degreaser. I also used a hair dryer to smooth out any bubbles and preheat the wall. 1 month and the wall still looks awesome.
K**R
Take your time!
Takes patience and it's not perfect but I'm really happy with the end result. I'm very happy with the quality of the print. The only thing that would make it better would be if there was some sort of marking showing you how to overlap the panels. It was challenging to line up the panels perfectly, especially since my walls weren't perfectly level. But I'm very satisfied with the end result. Definitely have a second person to help.
K**N
Looks great, but was a PIA to install
Not easy to install.. might have been easier had I not been fighting Covid pneumonia, but unlikely. Looks great, and the kid is happy.
H**R
Absolutely amazing. Everyone loves it!
The media could not be loaded. Looks absolutely stunning! The camera doesn't do it justice. Lamp light is the best option to use for sure, only because it's vinyl and since it's vinyl, it is slightly reflective; this causes ceiling light to have a whitish glare on the wall when you look at it. To avoid that, simply use warm lamp lights.It is VERY difficult to apply. I did this one by myself and it took me 4+ hours. It's only because it's tedious and if you're a perfectionist, keeping it lined up with the ceiling but also with itself is quite the job. It requires lots of patience and "backing up to get the whole picture," but it's not impossible. Definitely worth the struggle!
A**R
HOLY COW!!! Far exceeded my expectations.
This looks as good on my theater room wall as it does in the pics. It comes in 6 panels and we started with panel #4 then commenced to 5, 6, then 3, 2, and 1. Do NOT assume your ceiling is level. Make sure the first panel you hang is straight up and down and follow their provided instructions. The instructions were very good. We also used a shower squeegee to smooth it out. I cut off about 10 inches on the bottom, but I still LOVE it. Makes the room pop & gives it an extra dimension. I bet all of their designs are great!
L**N
Looks great !
It was difficult to put up. But once it’s up definitely worth it . Took the whole wall . Grandsons bedroom wall who loves video games like Call of Duty !
A**L
Not sold
I’d like to start by saying we have purchased murals from other distributors and have experience hanging them.This image is awesome which is why it is getting a 3 star review.Make sure when measuring for instal you account for the overlap.The backing was not easy to get off. It was like it had heated up and was splintering off. It did not peel off in an easy manner. That did make install take longer. It also made it hard to peel without the paper sticking to itself. That made certain areas bubble.I waited to do the review to test the longevity of the mural. We’ve now had it up for about 3 months and the corners are starting to pull away from the wall. It does stick back up, but it’s honestly annoying.
Trustpilot
2 weeks ago
2 months ago