


✂️ Cut Above the Rest!
Full description not available


M**Y
Just Buy It!
I'd originally bought a corner-rounder from Daiso where I get most of my supplies, & it worked ok. But I'm picky, & the edges where the rounded part met the straight part of the paper wasn't smooth enough for me. So after hours of searching Amazon for a better one, I decided to "splurge" on this one for ~$17.There's a great detailed review about being able to loosen or tighten the screws inside for customization, but I ended up not needing to alter it at all! I'm using it on double-sided Red River semi-gloss 66lb paper.The best way to use this cutter is by setting it on a level flat surface and using the pressure of your whole hand to quickly and accurately punch it. I've found I prefer cutting the papers upside down as cutting them this way keeps the ink on the edges from looking too obviously trimmed. The storage for the clippings is super convenient and I see myself using this product for a long time!
V**A
Wow, this really is the best corner rounder!
I needed a corner rounder for crafting/diy pnp games and at first I got the absolute cheapest corner rounder thinking they were all the same. Well after trying 3 separate 'generic pink/blue' corner rounders and having inconsistent results I finally decided to try this supposed 'best' corner rounder. And wow is it great. No more trying to align the paper just right or using the blades to ensure the paper is orientated correctly. With this Kadomaru corner cutter I no longer worry about any of that. It just works. And this new design is way easier on the hands. You don't need to exert your thumb and index fingers to squeeze it. You can just use the palm of you hand and body weight to easily push down. Excellent, the best I've ever had.
L**L
This is a well-designed, well-made tool. It can be adjusted to work for you.
(I mean, unless you’re trying to round off a steel latch plate or something. Get an angle grinder.)Things to know:-There are multiple moving parts-These parts are probably not in perfect adjustment right out of the box.-You can make the adjustments necessary to do your project, using a Phillips screwdriver.I sympathize with those who had frustrations right out of the box with this item. For me, the blade assembly got stuck in the down position while chomping index cards (one at a time). But I fixed it, and the following description may help somebody out there.First, it’s worth bearing in mind that this product is made in Japan (not elsewhere in Asia), so you should expect the design and manufacturing to be very good. And it’s not a solid-state electronic device so you should expect to be able to disassemble and service it to some degree.Aside: If you just want nice-looking stationery without having to adjust, maintain, or even understand your tool, then give your project to the kid at the copy center. But if you are like me and enjoy that kind of thing, or if you just really want to cut corners, then it’s best not to, um…cut corners.Moving Parts: This product cuts a radiused corner in sheet material (usually paper or card stock) as the lever pushes the curved blade down across the edge of a metal plate, rounded with a matching curve, that support the material horizontally.The user operates the cutter via a lever that pivots on one side and presses down on the blade housing in the center (For you kids at home, that’s called a Class 2 lever, like a wheelbarrow). Maybe there is a video out there with a hand model who makes it look easy to use one finger on the tip of the lever, or squeeze it between your thumb and finger, but don’t bother. Use a solid work surface (wooden table, tile floor, concrete driveway, deck of a ship, whatever is convenient) and push straight down on the center, using your palm. This should give you the best chance of a clean cut the first time. The thicker the material, the more you must put your weight into it.Another Aside: The horizontal metal thing that opposes the vertical blade during the cut, is what I’m calling the “shearing plate”, because that is what we’re adjusting. The real technical term is probably in Japanese, so you’re welcome. I like to be accurate enough so you know what I’m talking about, but I promise not to get ridiculous about it and string a bunch of terms together for the sake of precision like they would do in German (“Ent now, ze tenshun iss adjustet bei tyrning ze Shearingplateassemblybasehousingsecurefasteningscrew…”)The shearing plate, fastened to a small movable plastic block, is meant to slide outward a bit with each cut. When the lever resets, the shearing plate assembly returns toward the center via a spring. You can’t see these springs without disassembling the product, but you can adjust the resistance to the spring tension via one of three screws underneath (one for each radius size).If the screw is totally snug and the shearing plate assembly does not move at all, the blade housing is likely to get stuck in the down position. If the screw is too loose, there will be enough play that the shearing plate assembly to move too soon or cant too much, resulting in either a ragged cut or no cut at all. A loose shearing plate will also fail to reset flush with the base, which narrows the cutting slot enough that it may not accept another sheet after the first cut.The correct adjustment will vary according to the material. For light thin cutting, like one sheet of printer paper, the screws should be “almost” snug. Wear eye protection at all times. To avoid stripping the threads in the plastic base, turn the screw by holding the screwdriver by the SHANK (not the handle) between your thumb and fingers, and turn clockwise until your finger grip fails and you would have to change to gripping the handle to turn any further. That is snug (or “finger tight”). Then back off by about ¼ to ½ turn. For thicker cuts, back the screw off a little more. Test and see. Again, if it’s too loose, the cut will fail in thick material, and a second sheet may bind on the way in. I got this to work for several sheets of paper, up to six stacked index cards, and two layers of a plastic drawer liner. Do some tests first to get the adjustment right, then push as hard as necessary. If your full body weight pressed over a stiff arm is not sufficient to round the corner off your material, then either it is too thick for this product to cut effectively, or you are severely malnourished. Break for a sandwich and try again later, or try the angle grinder.
L**M
Works like a dream!
I knew as soon as I used this I had to give it 5 stars! This is the first edge cutter that cuts my thick laminated paper absolutely beautifully and works even more smoothly than I expected! It literally cuts through like butter and I haven't had any issues with it getting the laminate stuck in the blade at all like other cutters I have used. The cuts are perfectly smooth and clean. It is also super lightweight and very easy to use. This is probably the best edge cutter out there!
J**F
The best rounder I have found, but needs one improvement!!
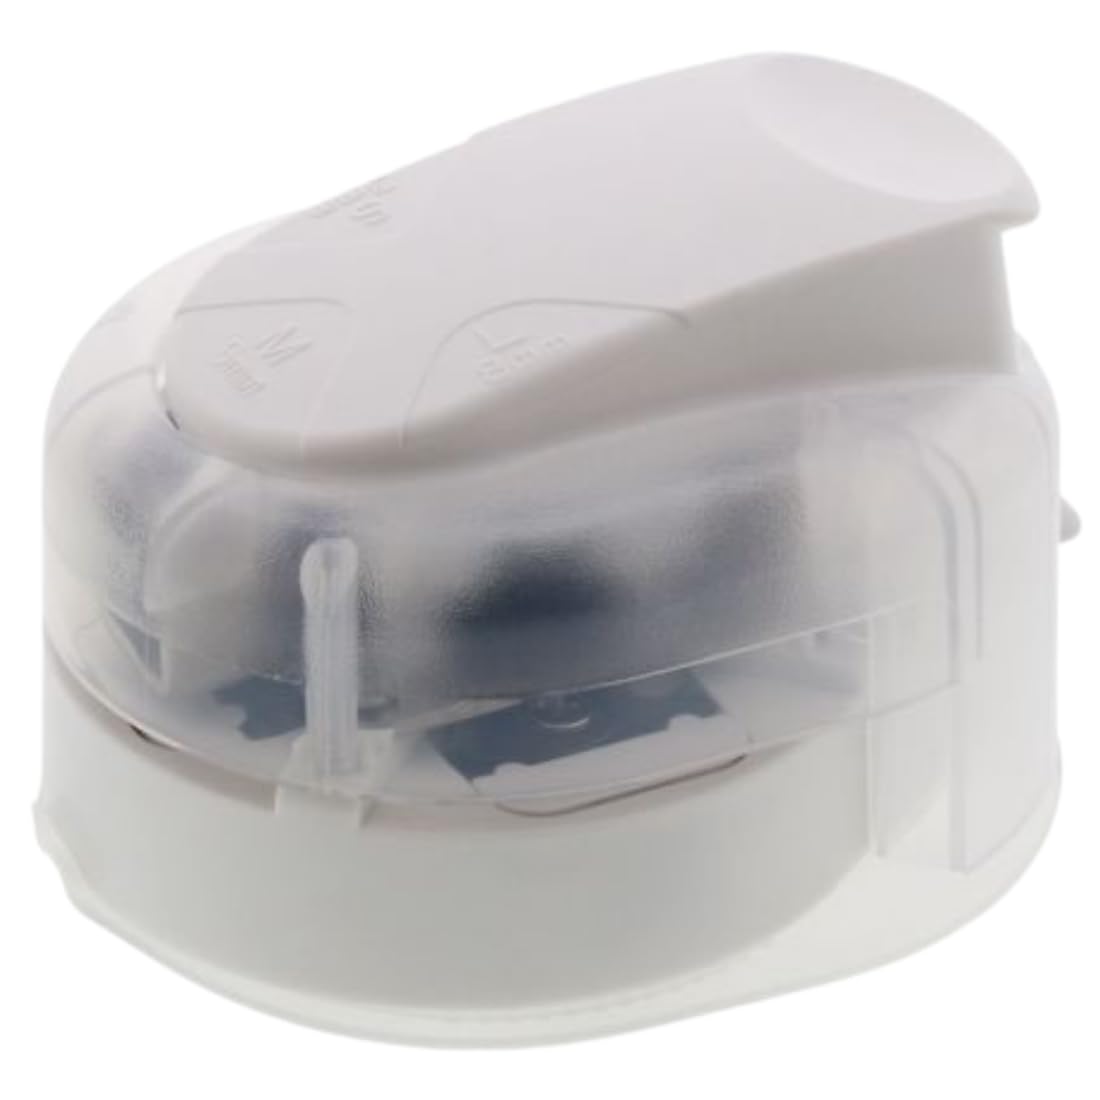
The media could not be loaded. These are the best corner rounder I have found (I've tested MANY).My only complaint is that the opening slot that receives the paper is SO annoying when you're repeatedly rounding many corners. It's a THIN opening slit with low visibility, so when you're trying to move quickly, you'll find yourself bumping your papers corner into the wall of the product in attempts to get it inside the opening.I think this could easily be fixed if the opening had the bottom ridge jutting out, protruding so that you can easily feel for it with the paper you're holding, it would snap in a lot easier, making repetitive corner-rounding tasks much faster and smooth.For reference, I am rounding potentially thousands of paper corners every day. It may not seem significant, but with this amount of corner-rounding, I am wasting a lot of time bumping the paper into the opening trying to get it inside!Please, please, please make the base longer than the top so that it's easier to snap the paper in!Even better if you could make the opening WIDER. With a wider opening, it would be easier to insert the paper, and then it could narrow back to the area with the cutter.I attached a photo and video showing how thin the opening is, making it difficult to enter paper.Otherwise, the cutter cuts very well and I am very happy with the product. I really hope they can make this improvement to the design for the next version. Thank you!
Trustpilot
2 months ago
1 day ago